Home ▸ STM32 Tutorials ▸
Updated On: May 22, 2026
STM32 Beginner Course – Learn STM32 from Scratch
Welcome to this complete STM32 beginner course, where you will learn how to program STM32 microcontrollers from scratch using STM32CubeIDE and STM32CubeMX.
This course is designed for beginners in embedded systems, electronics students, hobbyists, and engineers who want to build a strong foundation in STM32 development using HAL drivers. Throughout this course, we will cover all the essential peripherals and interfaces commonly used in real-world embedded projects.
Starting from basic GPIO configuration and clock setup, you will gradually move toward more advanced topics such as UART communication, ADC conversions, I2C and SPI interfacing, PWM generation, sensor communication, TFT displays, SD Card interfacing, and much more.
Each section in this article corresponds to a dedicated tutorial video from the Full Course Video on the Youtube. Along with a brief explanation of the topic, you will also find the project download links so you can follow along and practice on your own hardware.
Whether you are using an STM32 Blue Pill, Nucleo board, or any other STM32 development board, this course will help you gain practical hands-on experience in embedded programming.
You can also explore the complete STM32 tutorial collection here:
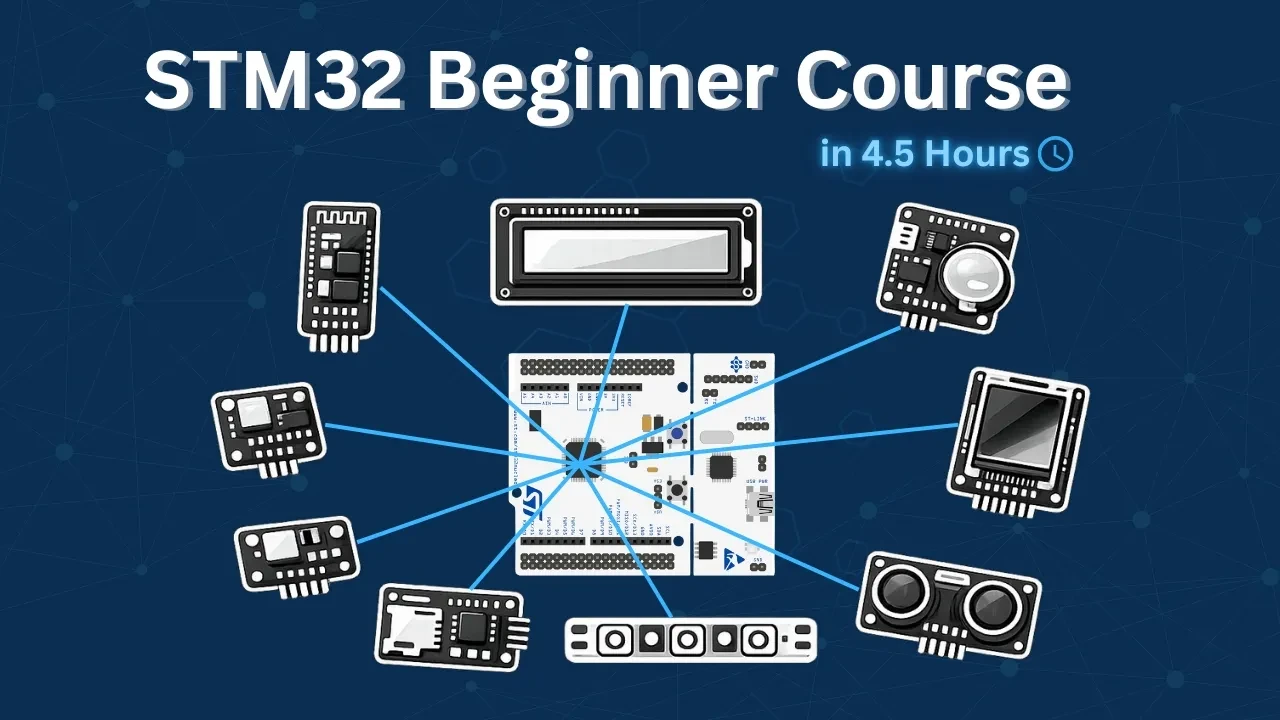
Table Of Contents
- STM32 LED Blinking (GPIO + CubeMX + Clock Setup)
- STM32 UART: Configure & Transmit Data in Blocking Mode
- STM32 UART: Transmit using Interrupt & DMA
- STM32 UART: Receive Data in Blocking & Interrupt mode
- STM32 Communication using HC-05 Bluetooth Modules
- STM32 ADC Single Channel Polling Mode
- STM32 ADC Single Channel with Interrupt & DMA
- STM32 ADC Multiple Channels with DMA Normal Mode
- Interface I2C LCD1602 (PCF8574) with STM32
- Interface DS3231 RTC module with STM32
- Interface BMP180 Pressure Sensor with STM32
- Interfacing BME280 Sensor with STM32
- Interface ST7735 1.8" TFT Display with STM32
- Interface SD Card with STM32 using SPI
- STM32 PWM Output: Generate PWM with & without DMA
- Interface WS2812 LED with STM32
- Interface Passive Buzzer Module with STM32
- How to interface HCSR04 sensor with STM32
STM32 LED Blinking (GPIO + CubeMX + Clock Setup)
This is the first tutorial in the STM32 beginner series. We start from zero — no existing project, no pre-configured template.
I will walk through the complete process of creating a new project in STM32CubeMX, configuring the system clock for different STM32 development boards, setting up a GPIO pin as output, and writing the HAL code to blink an LED. We will also cover how to build and flash the project to the board directly from STM32CubeIDE.
I am using the Nucleo-F446RE throughout this tutorial. The steps are the same for the Blue Pill (F103C8), Discovery F407, and Nucleo-144 boards — with one key difference in the clock configuration, which I will explain in detail so you can follow along on whichever board you have.
Complete Tutorial : STM32 First Project: LED Blinking
STM32 UART: Configure & Transmit Data in Blocking Mode
UART is how STM32 talks to the outside world. It’s the first thing you configure when debugging a new board, connecting a GPS or Bluetooth module, or logging sensor data to a PC. Two wires, no clock, and a handful of HAL function calls get you up and running.
This video covers everything needed to send data from STM32 to a serial monitor in blocking mode: configuring UART in CubeMX, connecting the hardware (both Nucleo/Discovery boards with built-in VCP and boards that need an FT232 adapter), and transmitting strings and numbers via HAL_UART_Transmit(). Verified output is shown in a serial terminal.
Blocking mode is the right starting point — simple, predictable, no callbacks to manage. Once this works, next section covers transmitting via interrupt and DMA to free the CPU during transmission.
Complete Tutorial : STM32 UART: Configure & Transmit Data
STM32 UART: Transmit using Interrupt & DMA
In many projects, UART data is transmitted using blocking functions, which can pause the CPU until the entire message is sent. While this approach works for small data, it quickly becomes inefficient in real applications where the microcontroller must handle multiple tasks simultaneously.
In this section, we will explore how to transmit data over UART using Interrupt and DMA modes in STM32. These methods allow UART transmission to run in the background, freeing the CPU to execute other code without delays. We’ll start by understanding the limitations of blocking mode, then move step-by-step through interrupt-based transmission, and finally implement DMA-based transmission for maximum efficiency.
Complete Tutorial : STM32 UART: Transmit using Interrupt & DMA
STM32 UART: Receive Data in Blocking & Interrupt mode
In this section, we will explore how to receive UART data on STM32 using both blocking and interrupt modes. You will learn how blocking mode works, why it can limit your program’s responsiveness, and how using interrupts allows the CPU to handle other tasks while receiving data in the background. We will also cover how to handle fixed-length and variable-length data efficiently, and how to implement reliable UART reception in your STM32 projects using HAL.
Complete Tutorial : STM32 UART: Receive Data in Blocking & Interrupt mode
STM32 Communication using HC-05 Bluetooth Modules
In this section we will cover how to setup the HC-05 modules in the master and slave mode. Then use these modules to communicate between the two STM32 controllers.
The HC-05 module is an easy to use Bluetooth SPP (Serial Port Protocol) module, designed for transparent wireless serial connection setup. The HC-05 supports both the master and the slave modes. It also supports UART interface with programmable baud rates ranging from 9600 to 460800.
Complete Tutorial : STM32 Communication using HC-05 Bluetooth Modules
STM32 ADC Single Channel Polling Mode
In this section we will learn how to use STM32 ADC in single channel polling mode. We will configure the ADC using CubeMX and HAL to read analog signals. With polling mode, the microcontroller waits until the conversion is complete and then reads the value. This method is easy to understand and works well for basic projects where you need to measure only one input. We will also test the setup on different STM32 boards and explain the example code step by step.
Complete Tutorial : STM32 ADC Single Channel Polling Mode
STM32 ADC Single Channel with Interrupt & DMA
Reading a single ADC channel using polling mode was a simple approach where the CPU waits for each conversion to finish. In this section, we take a step further and cover two more efficient methods: Interrupt mode and DMA mode. Both allow the ADC to run conversions in the background while the CPU is free to handle other tasks, making them far more suitable for real-world applications.
We will configure both modes in CubeMX, write the HAL code, and verify the output using the STM32CubeIDE debugger. We will also cover the Cortex-M7 specific MPU setup needed to handle cache coherency issues when using DMA on the STM32H750. The CubeMX configuration from previous section carries over here, so if you have not gone through that yet, start there first.
Complete Tutorial : STM32 ADC Single Channel with Interrupt & DMA
STM32 ADC Multiple Channels with DMA Normal Mode
In this section we will learn how to read data from multiple channels using DMA Normal Mode. Unlike circular DMA, Normal Mode transfers the converted values once and then stops, giving you full control over when the next conversion should happen. This method is useful when you want to collect a batch of analog data at specific intervals. We will configure the ADC in CubeMX, write the code, and test the results on STM32 boards.
This section is a continuation of the previous one, so the configuration remains the same.
Complete Tutorial : STM32 ADC Multiple Channels with DMA Normal Mode
Interface I2C LCD1602 (PCF8574) with STM32
Wiring a 16×2 LCD to STM32 with 6+ GPIO pins is messy. The PCF8574 I2C expander cuts that down to just two pins — SDA and SCL — while the HAL library handles all the low-level I2C transactions.
This section shows you how to interface an I2C LCD1602 with an STM32F103 using the PCF8574 expander, STM32CubeMX, and CubeIDE with HAL. You’ll configure I2C in CubeMX, understand the PCF8574 address and pin mapping, and write HAL code to display strings, integers, and floats on the LCD. The complete CubeIDE project is available to download below.
Complete Tutorial : Interface I2C LCD1602 (PCF8574) with STM32
Interface DS3231 RTC module with STM32
In this section, we will interface the popular DS3231 RTC Module with an STM32 microcontroller using the I2C protocol. The DS3231 is a highly accurate Real-Time Clock (RTC) module that can keep track of time and date even when the main power is removed, thanks to its onboard backup battery.
Unlike the internal RTC available in many STM32 microcontrollers, the DS3231 provides excellent long-term accuracy with an integrated temperature-compensated crystal oscillator (TCXO), making it ideal for clocks, data loggers, automation systems, IoT devices, and embedded applications that require reliable timekeeping.
Complete Tutorial : Interface DS3231 RTC module with STM32
Interface BMP180 Pressure Sensor with STM32
In this section, we will interface the BMP180 barometric pressure sensor with an STM32 microcontroller using the I2C protocol. The BMP180 is a compact and highly accurate sensor capable of measuring atmospheric pressure, temperature, and altitude, making it ideal for weather monitoring systems, drones, GPS applications, IoT devices, and environmental sensing projects.
The BMP180 communicates over I2C, allowing easy integration with STM32 using only two signal lines — SDA and SCL. Along with pressure measurement, the sensor also includes an internal temperature sensor, which is used for compensation calculations to improve measurement accuracy.
Complete Tutorial : Interface BMP180 Pressure Sensor with STM32
Interfacing BME280 Sensor with STM32
In this section, we will interface the BME280 environmental sensor with an STM32 microcontroller using the I2C protocol. The BME280 is a compact and highly accurate sensor capable of measuring temperature, humidity, and atmospheric pressure, making it an excellent choice for weather stations, IoT devices, indoor climate monitoring, altitude measurement, and embedded sensing applications.
Unlike simpler pressure sensors, the BME280 combines three environmental sensors into a single module while maintaining low power consumption and high measurement accuracy. It can also be used to estimate altitude based on atmospheric pressure readings, which makes it useful in portable and battery-powered projects.
The sensor communicates over either I2C or SPI, and in this section we will use the I2C interface with STM32 and HAL drivers for easier implementation and wiring.
Complete Tutorial : Interfacing BME280 Sensor with STM32
Interface ST7735 1.8″ TFT Display with STM32
In this section, we will interface the ST7735 1.8-inch TFT SPI Display with an STM32 microcontroller using the SPI protocol. The ST7735 is a compact full-color TFT display controller capable of rendering graphics, text, images, and animations, making it ideal for embedded GUIs, sensor dashboards, handheld devices, and real-time monitoring applications.
Unlike character LCDs, the ST7735 display provides a high-resolution color interface that allows you to draw pixels, shapes, images, and custom fonts directly on the screen. The display communicates over SPI, which makes it fast and efficient while using only a few GPIO pins on the STM32.
Complete Tutorial : Interface ST7735 1.8″ TFT Display with STM32
Interface SD Card with STM32 using SPI
In this section, we will interface an SD Card with an STM32 microcontroller using the SPI interface along with DMA support for faster and more efficient data transfer. SD Cards are widely used in embedded systems for data logging, file storage, audio recording, image saving, and applications that require large non-volatile memory storage.
Using SPI mode allows the SD Card to work with almost any STM32 microcontroller, while DMA significantly reduces CPU load by transferring data directly between memory and peripherals without continuous processor intervention. This makes the system faster and more efficient, especially when handling large amounts of data.
Complete Tutorial : Interface SD Card with STM32 using SPI
STM32 PWM Output: Generate PWM with & without DMA
PWM (Pulse Width Modulation) is how microcontrollers control power without a DAC — dimming LEDs, setting motor speed, generating audio signals, or driving servo positions, all from a single digital output pin. If you need to control anything analog-behaving from an STM32, PWM is usually the answer.
In this section you will learn how to configure STM32 PWM output using TIM1, STM32CubeMX, and the HAL library. It covers three approaches: basic output without DMA, DMA Normal Mode for a one-shot duty cycle sequence, and DMA Circular Mode for continuous repeating waveforms. All examples are tested on the STM32F103C8 (BluePill) with results verified on a logic analyzer.
Complete Tutorial : STM32 PWM Output: Generate PWM
Interface WS2812 LED with STM32
In this section, we will interface WS2812 addressable RGB LEDs with an STM32 microcontroller using timer PWM and DMA. WS2812 LEDs, also known as NeoPixels, are widely used in modern embedded and lighting projects because each LED can be individually controlled using just a single data line.
Unlike traditional RGB LEDs, WS2812 LEDs contain an integrated driver IC inside every LED package, allowing you to control the colour and brightness of each LED independently. This makes them perfect for animations, LED effects, smart lighting, displays, indicators, gaming setups, and decorative embedded applications.
The communication protocol used by WS2812 LEDs requires highly accurate timing signals, which makes STM32 timers and DMA an excellent solution for generating the required waveform efficiently without excessive CPU usage.
Complete Tutorial : Interface WS2812 LED with STM32
Interface Passive Buzzer Module with STM32
In this section, we will interface a passive buzzer with an STM32 microcontroller using Timer PWM signals. Passive buzzers are commonly used in embedded systems for alarms, notifications, melodies, sound effects, and user feedback applications.
Unlike active buzzers that generate sound automatically when powered, passive buzzers require an external frequency signal to produce sound. This makes them far more flexible, since different tones and musical notes can be generated simply by changing the PWM frequency from the STM32 timer.
Using STM32 timers and PWM allows precise control over the output frequency, making it possible to create beeps, alarms, and even simple melodies with minimal hardware.
Complete Tutorial : Interface Passive Buzzer Module with STM32
How to interface HCSR04 sensor with STM32
The HC-SR04 ultrasonic sensor is one of the most popular distance-measuring sensors used in embedded systems and robotics. It can measure distances accurately by sending ultrasonic waves and calculating the time taken for the echo to return. When paired with an STM32 microcontroller, it becomes a powerful tool for obstacle detection, automation projects, or simple robotics applications.
In this section, we will interface the HC-SR04 sensor with an STM32 microcontroller step by step. We will understand how the sensor works, configure the necessary GPIO pins in STM32CubeMX, and write HAL code to trigger the sensor and read the echo pulse to calculate distance. By the end of this tutorial, you will be able to measure distances reliably and use this sensor in your own projects.
Complete Tutorial : How to interface HCSR04 sensor with STM32
Download STM32 HC-SR04 Ultrasonic Sensor Project Files
Complete STM32CubeIDE project for interfacing the HC-SR04 ultrasonic distance sensor with STM32 using Timer Input Capture. Includes HAL-based source code, CubeMX configuration, distance measurement functions, and example programs for real-time ultrasonic ranging applications.
Browse More STM32 Tutorials
PWM with DMA in STM32

STM32 Watchdog Tutorial – IWDG vs WWDG with Examples
STM32 ADC Hardware Oversampling: Improve Resolution & Reduce Noise

TouchGFX #8. Send data from GUI to MCU
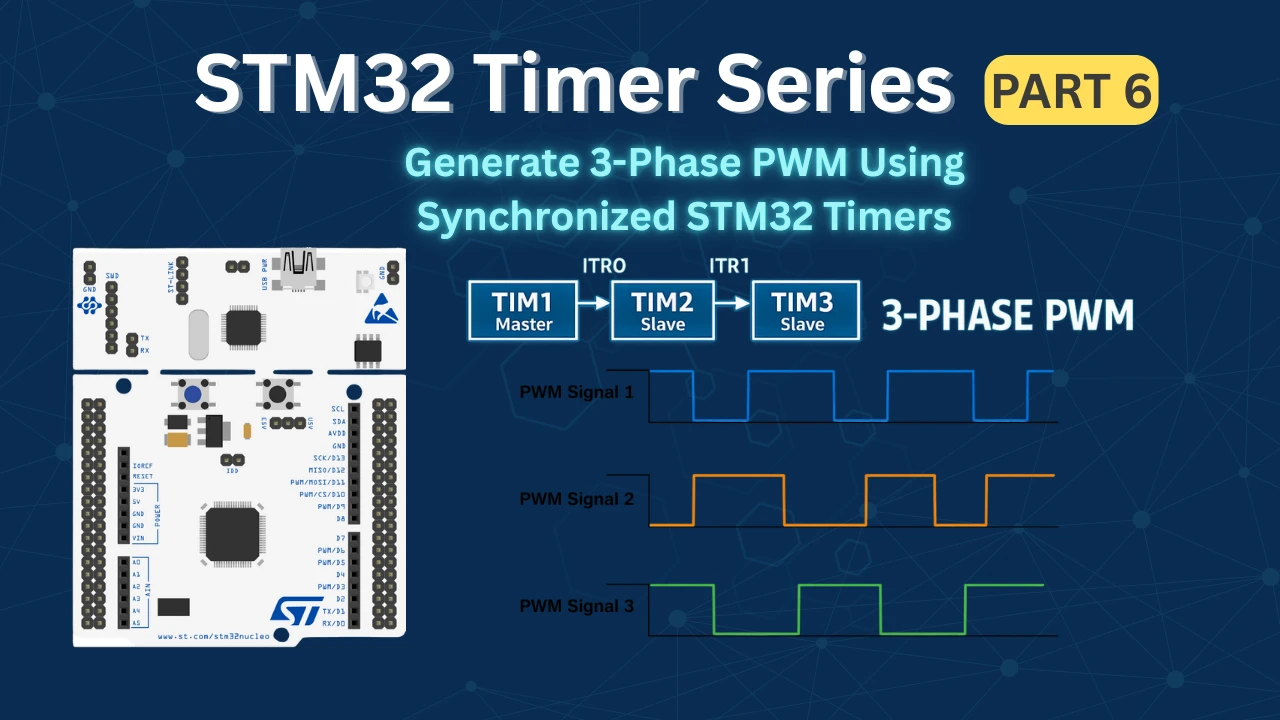
STM32 Timers (Part 6): Timer Synchronization for 3-Phase PWM Generation

Subscribe
Login
0 Comments
Newest
