Home ▸ STM32 Tutorials ▸
Updated On: March 23, 2026
Using External Flash to store Assets
This is the 6th tutorial in the series covering LVGL on STM32. In previous tutorials we have already covered a lot about the LVGL and the Squareline Studio. We created few UIs, sent data to the display, retrieve data from the display, etc. In today’s tutorial we will cover how to integrate the External Flash memory to store the Assets used in our project.
We will use the QSPI peripheral of the STM32 to interface the external flash in the memory mapped mode so that it will be easier for us to store the data into this memory.
I have already covered few tutorials on the STM32 QSPI peripheral. Basically we will use what has been covered in these videos. I will not go into the depth of the QSPI peripheral here, instead the focus will be on the LVGL.
VIDEO TUTORIAL
You can check the video to see the complete explanation and working of this project.
QuadSPI Flash Memory
As I mentioned I am not going to focus much on the QSPI part. You can check out THIS tutorial to understand how to interface External flash memory using the QSPI peripheral and how to use the memory mapped mode to relocate the data in the internal flash to the external flash memory.
Although I am using a different MCU with different Flash memory attached to it, but the process remains the same for all of them. There might be some differences in the Register names and memory size, so you can download the project to see the final code used for the QSPI memory in this project.
LCD Connection
The ST7789H2 LCD is connected via the FSMC. I have already covered how to interface this LCD and Hoe to use LVGL to create a basic UI. You can check out THIS tutorial to understand it in depth.
Create UI
I am using the Squareline Studio to create the UI. The assets that are going to be used in the project are images, which we will store in the external flash memory. The images must be the same resolution as the LCD display you are using and they all should be in the PNG format.
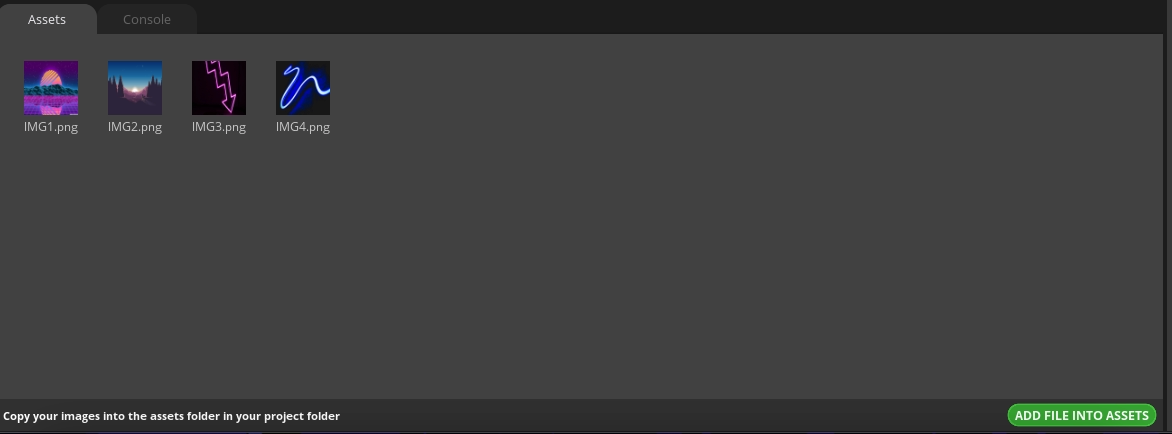
We first need to add the images to the LVGL assets.

Click on Add File Into Assets, select the images (one at a time) and click open. Once the images are added, the Assets tab will look like as shown below.
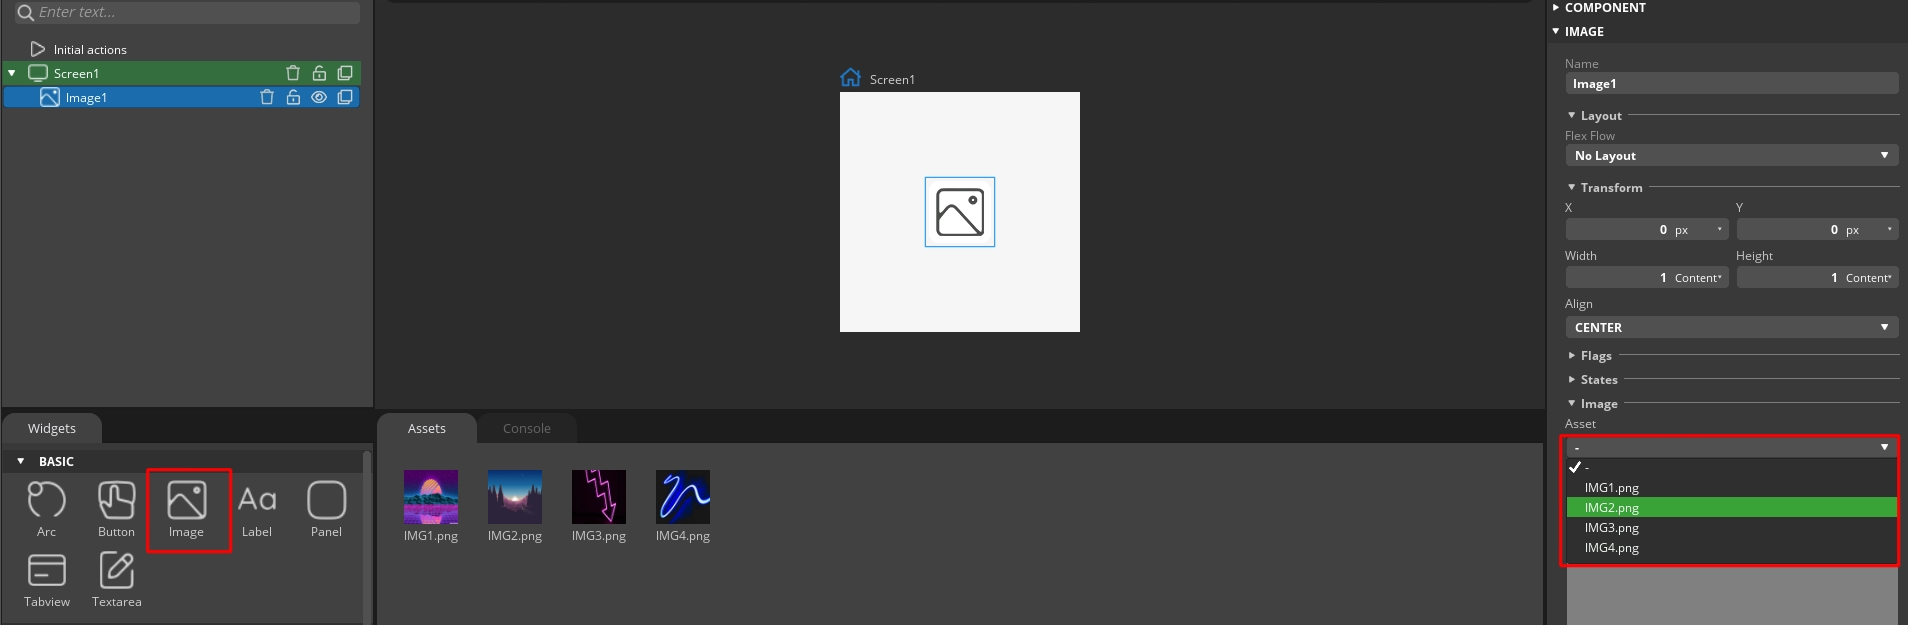
Next we will add the Image widgets and assign the respective images for each widget in the assets tab.
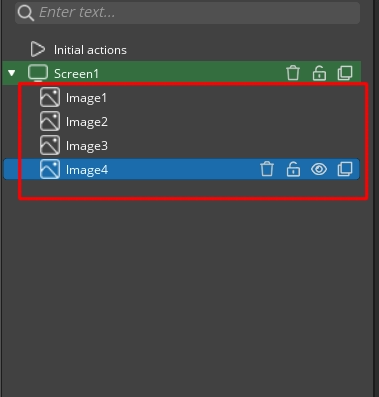
Once all the images are added, the project structure will look as shown below.
We will display one image at a time and this cycling between the images will be controlled by the button. To rotate the images, we will hide 3 images and show only 1 image at a time. Then when the button is pressed, we will hide the image visible, and show the other one.
To hide the images, we need to check the hidden flag in the FLAGS section of the image.
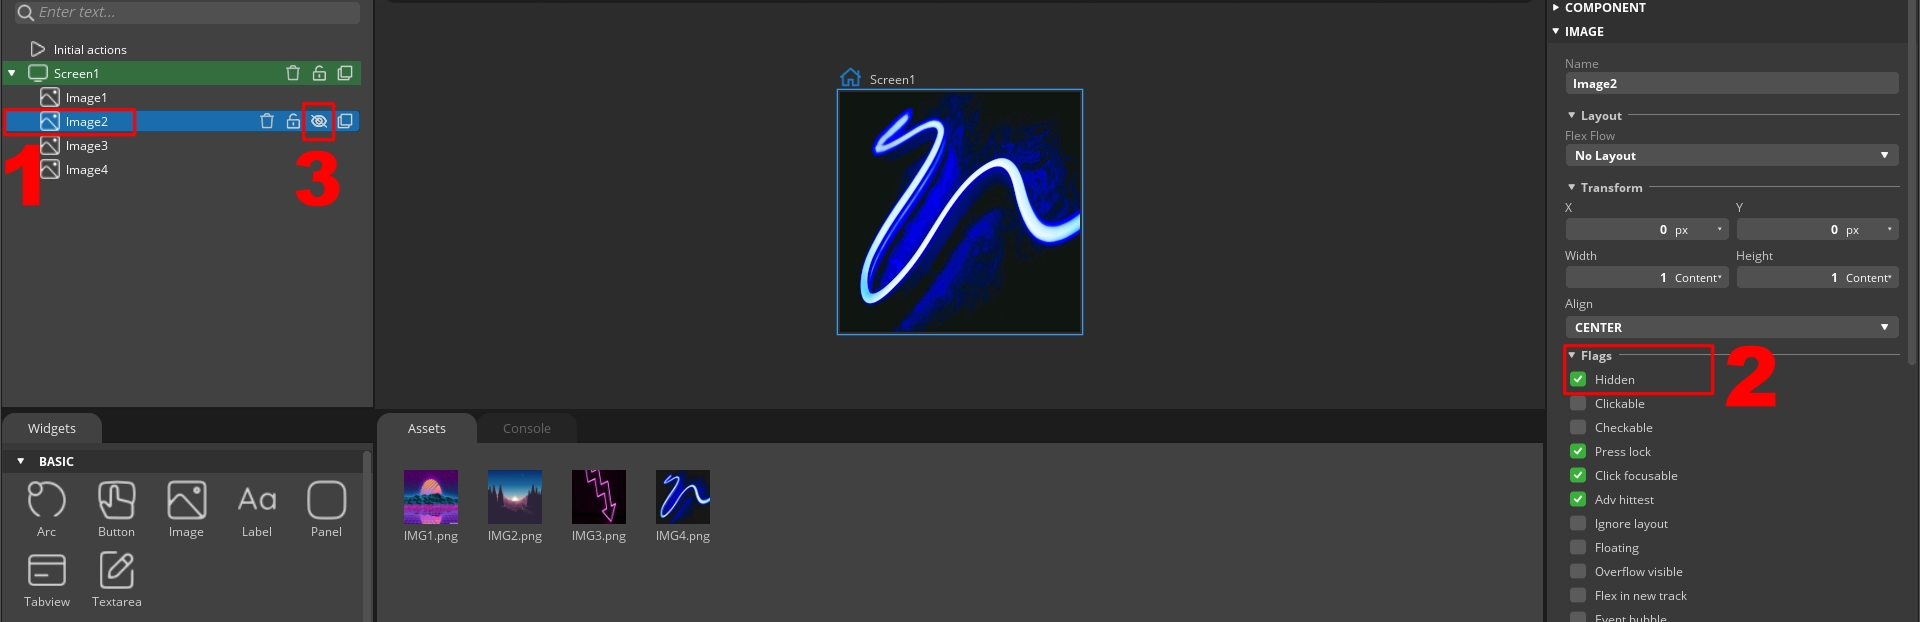
To hide the image, first click on the image. Then under the Flags section, check the hidden box. You can see the “hidden” indication in front of the image to confirm it.
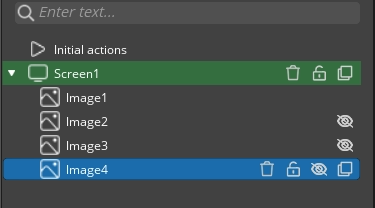
We will hide 3 images, Image 2, 3 and 4. The final structure is shown below.
Now we will add the button to the project which will be used to control the image cycle.
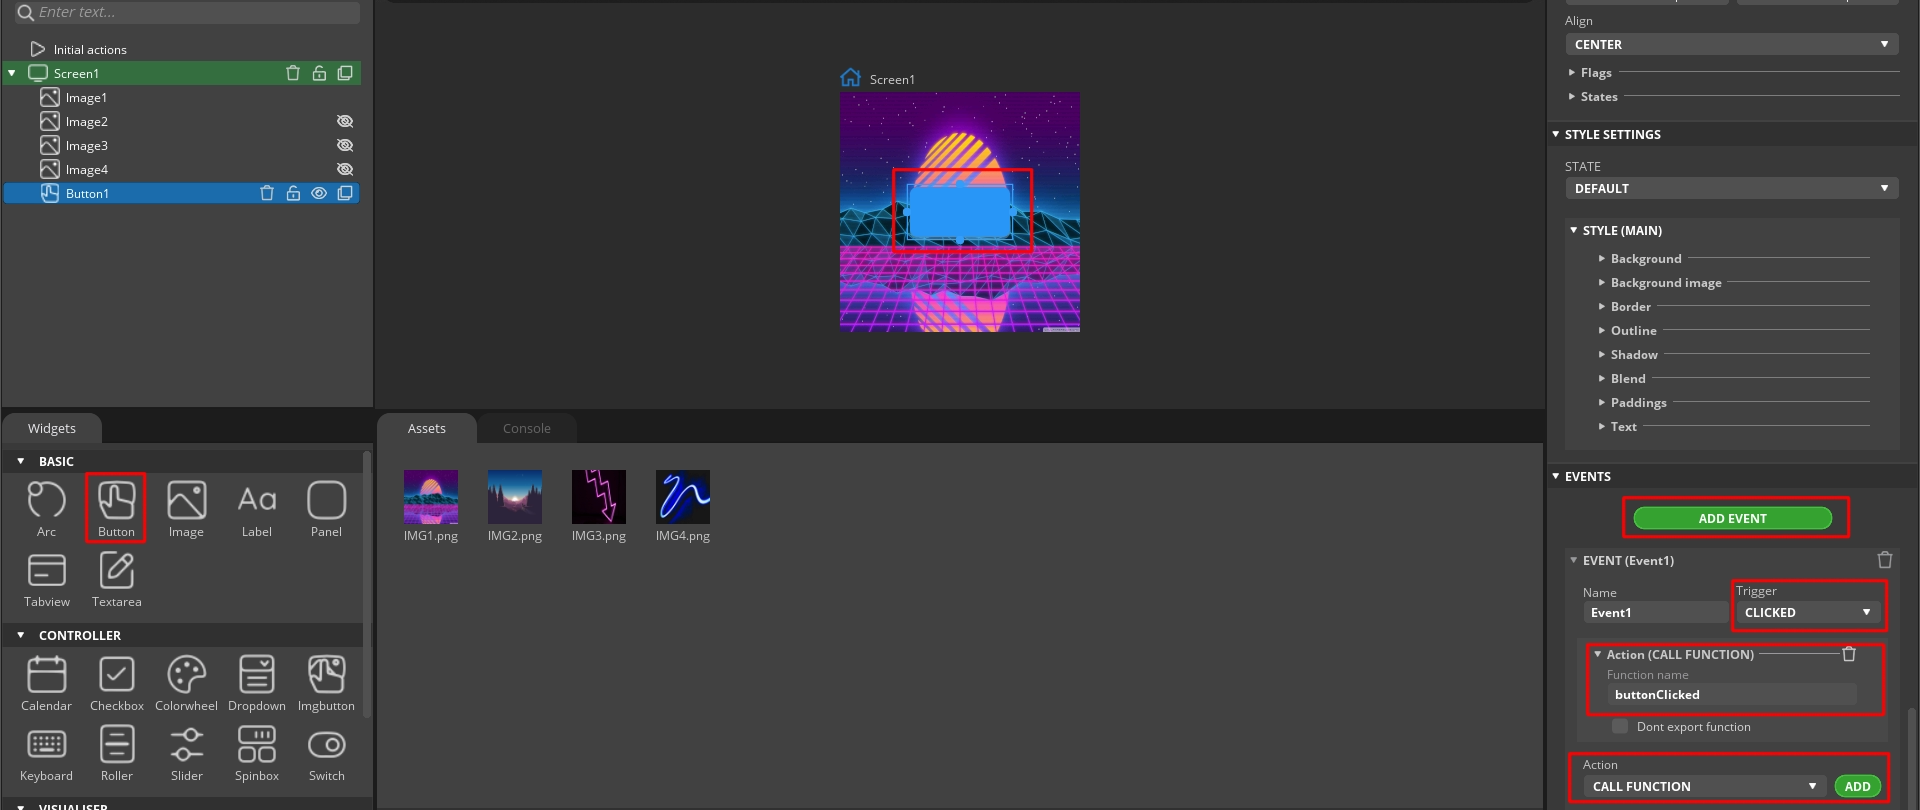
We will also add an event to the button which will trigger when the button is clicked. The event will call a function, buttonClicked. Inside this function we will hide the visible image and show the hidden image.
After exporting the UI files, copy it to the project as I have already covered in the previous LVGL tutorials.
Some Insight into the Code
In the main file, before initialising the LVGL, we will initialise the QSPI and put the external flash memory in the memory mapped mode.
  /* USER CODE BEGIN 2 */

  if (CSP_QUADSPI_Init() != HAL_OK)
  {
	  Error_Handler();
  }

  if (CSP_QSPI_EnableMemoryMappedMode() != HAL_OK)
  {
	  Error_Handler();
  }

  lv_init ();
  lv_port_disp_init();
  lv_port_indev_init();
  ui_init();
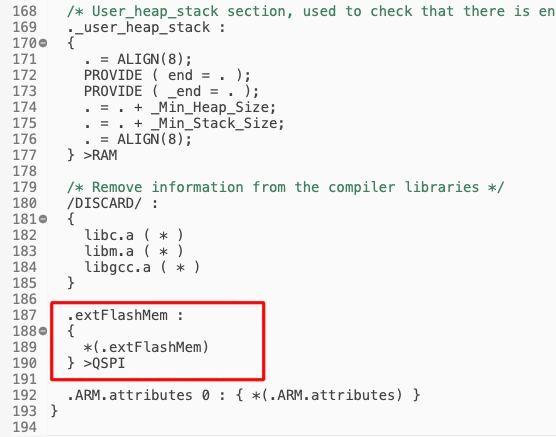
/* USER CODE END 2 */We now need to add the QSPI memory details in the flash script file.
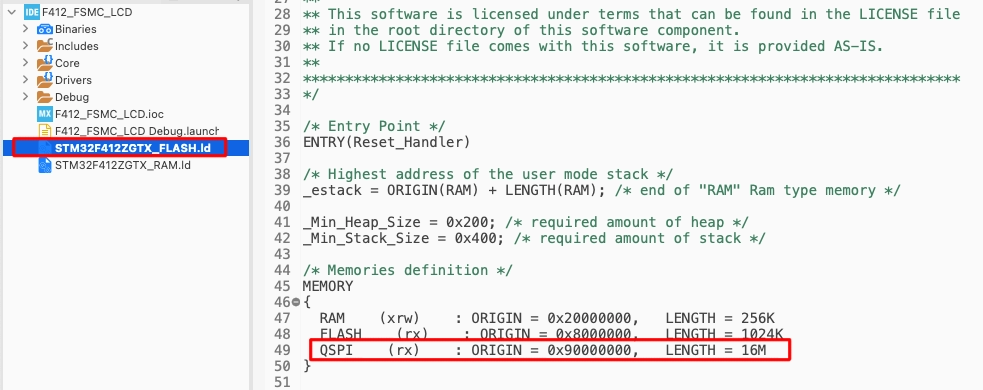
Here I have added the QSPI memory starting at location 0x90000000 and with the size equal to 16MBytes.
We will also define a memory section inside this QSPI where we can relocate the image data.
The image data inside the UI folder is generated in the form of hexadecimal values. We will relocate this data to the external flash memory by using the section attribute to it.
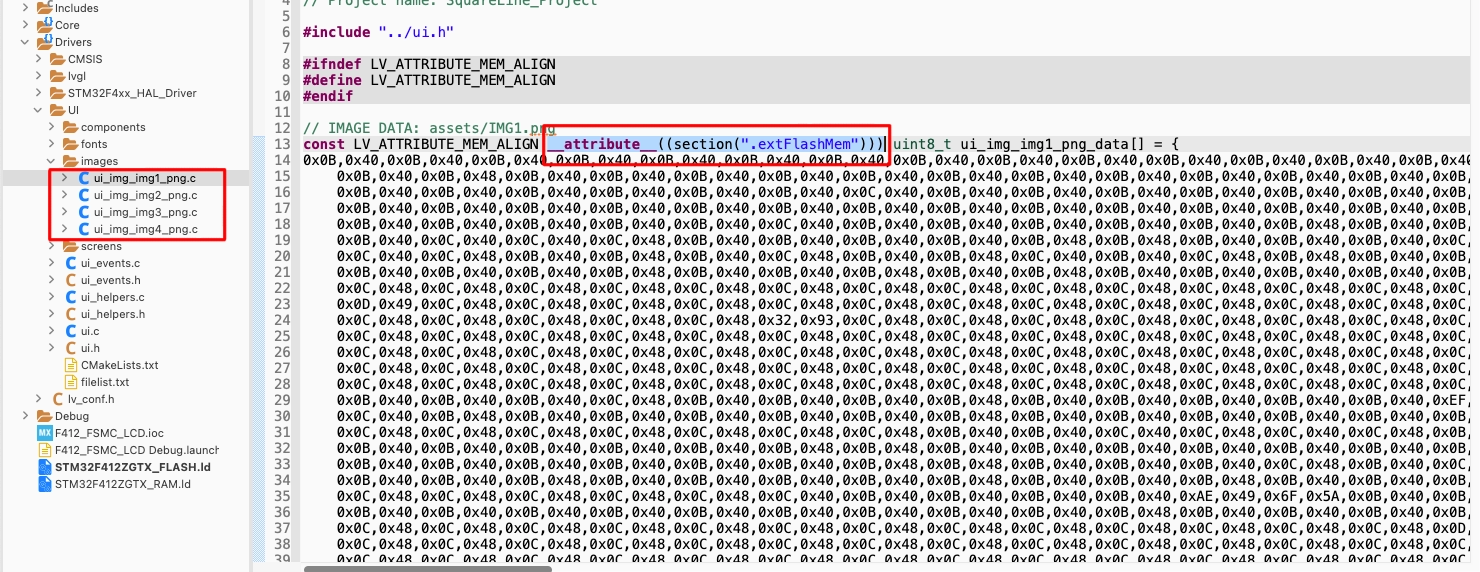
Note that the section attribute should point to the same section that we defined in the flash script. We will repeat this process for all the images.
Once we build the project, we can check the memory allocation in the memory details section of the cubeIDE.
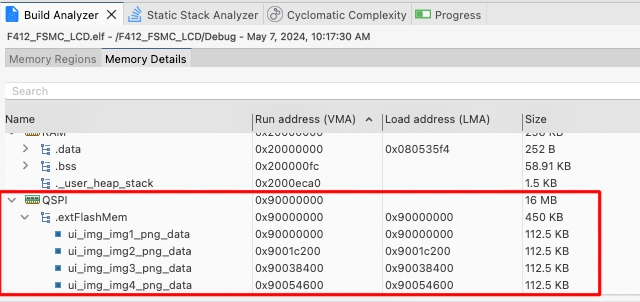
You can see in the image above, all 4 images have been relocated to the QSPI region. Their address is also pointing to the external flash.
Now we will write the callback function for the button. This can be found inside the ui_events.c file.
int num = 1;

void buttonClicked(lv_event_t * e)
{
	num++;
	if (num == 1)
	{
		lv_obj_add_flag( ui_Image4, LV_OBJ_FLAG_HIDDEN );   // Hide IMG4
		lv_obj_clear_flag( ui_Image1, LV_OBJ_FLAG_HIDDEN );    // unHide IMG1
	}
	else if (num == 2)
	{
		lv_obj_add_flag( ui_Image1, LV_OBJ_FLAG_HIDDEN );   // Hide IMG1
		lv_obj_clear_flag( ui_Image2, LV_OBJ_FLAG_HIDDEN );    // unHide IMG2
	}
	else if (num == 3)
	{
		lv_obj_add_flag( ui_Image2, LV_OBJ_FLAG_HIDDEN );   // Hide IMG2
		lv_obj_clear_flag( ui_Image3, LV_OBJ_FLAG_HIDDEN );    // unHide IMG3
	}
	else if (num == 4)
	{
		lv_obj_add_flag( ui_Image3, LV_OBJ_FLAG_HIDDEN );   // Hide IMG3
		lv_obj_clear_flag( ui_Image4, LV_OBJ_FLAG_HIDDEN );    // unHide IMG4
		num = 0;
	}
}Here we first define the num variable, which will keep track of the button clicked count. If the num variable is 1, we will show the Image 1 and hide the Image 4. To show or hide a particular image, we just need to clear or add the LV_OBJ_FLAG_HIDDEN flag.
Each time the callback function is called, the num variable will increment. For different value of the num variable, we will show the current image and hide the previously shown image. Since we only have 4 images, when the num variable’s value is 4, we will reset it back to 0.
Result
Below is the gif showing the result of the above code.

You can see the images are changing whenever the button is clicked. There is no distortion of any kind in the images, so our relocation is working perfectly.
STM32 LVGL Tutorial Series
LVGL on STM32 || PART 2
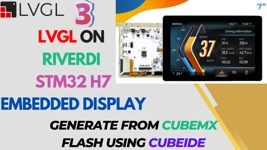
LVGL on Riverdi STM32-H7 Display
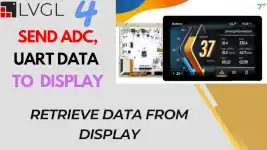
LVGL on STM32 || PART 4
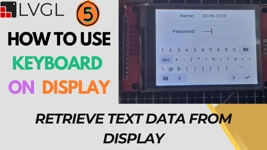
LVGL ON STM32 || PART5
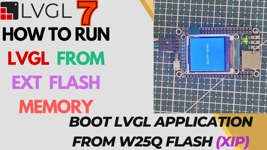
LVGL on STM32 || PART7 || Load LVGL from Ext Flash
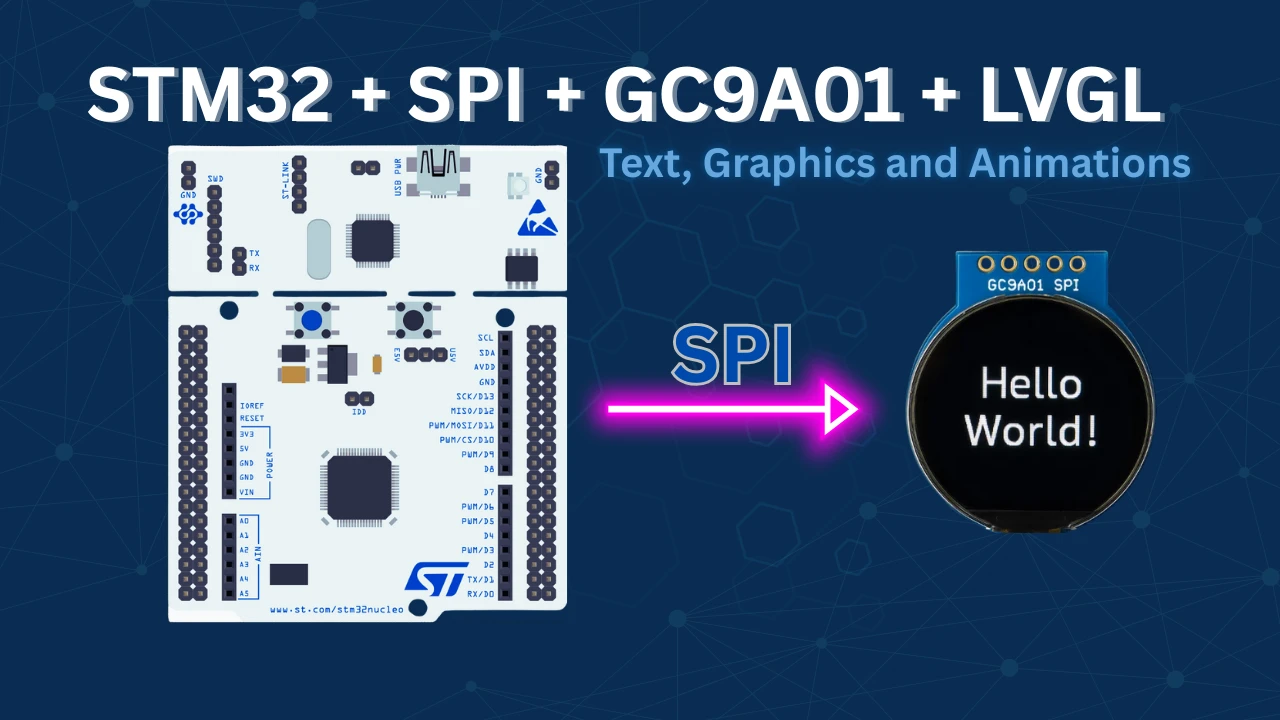
STM32 GC9A01 Round Display: SPI & LVGL Integration Guide
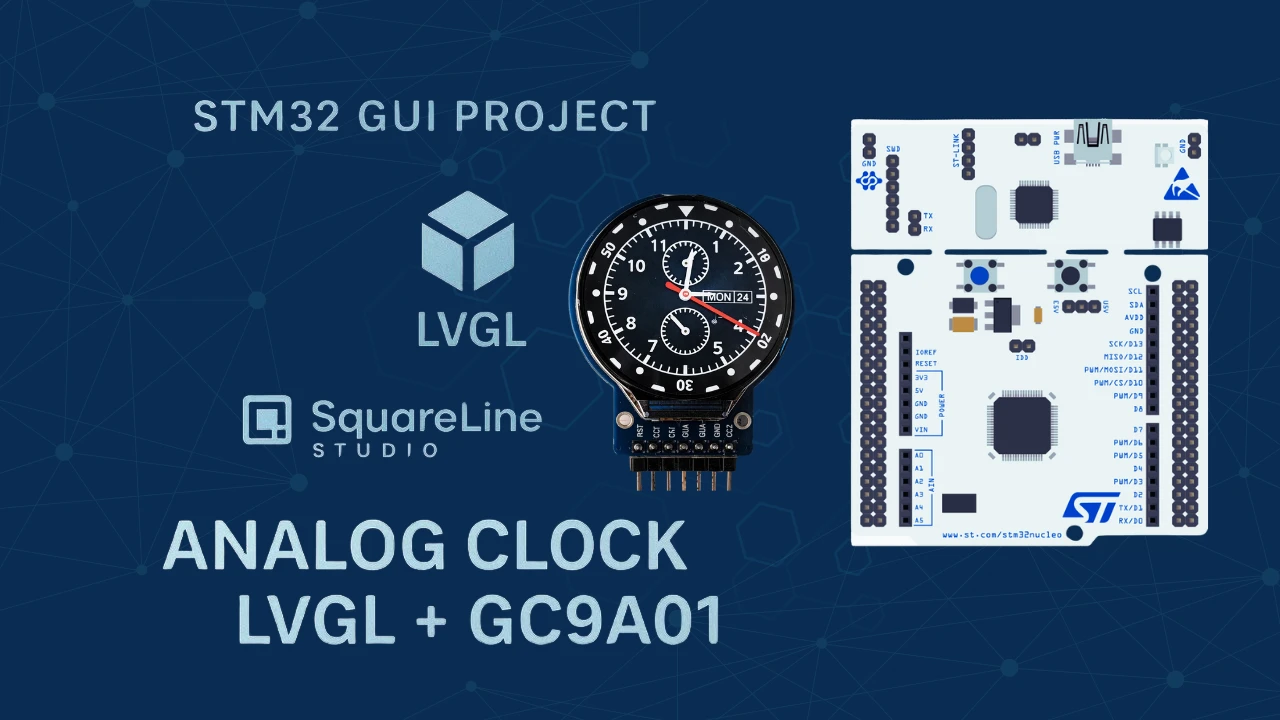
STM32 Analog Clock on GC9A01 — LVGL, SquareLine Studio & RTC

Subscribe
Login
0 Comments
Newest
