Home ▸ STM32 Tutorials ▸ USB Tutorials ▸
Updated On: June 10, 2026
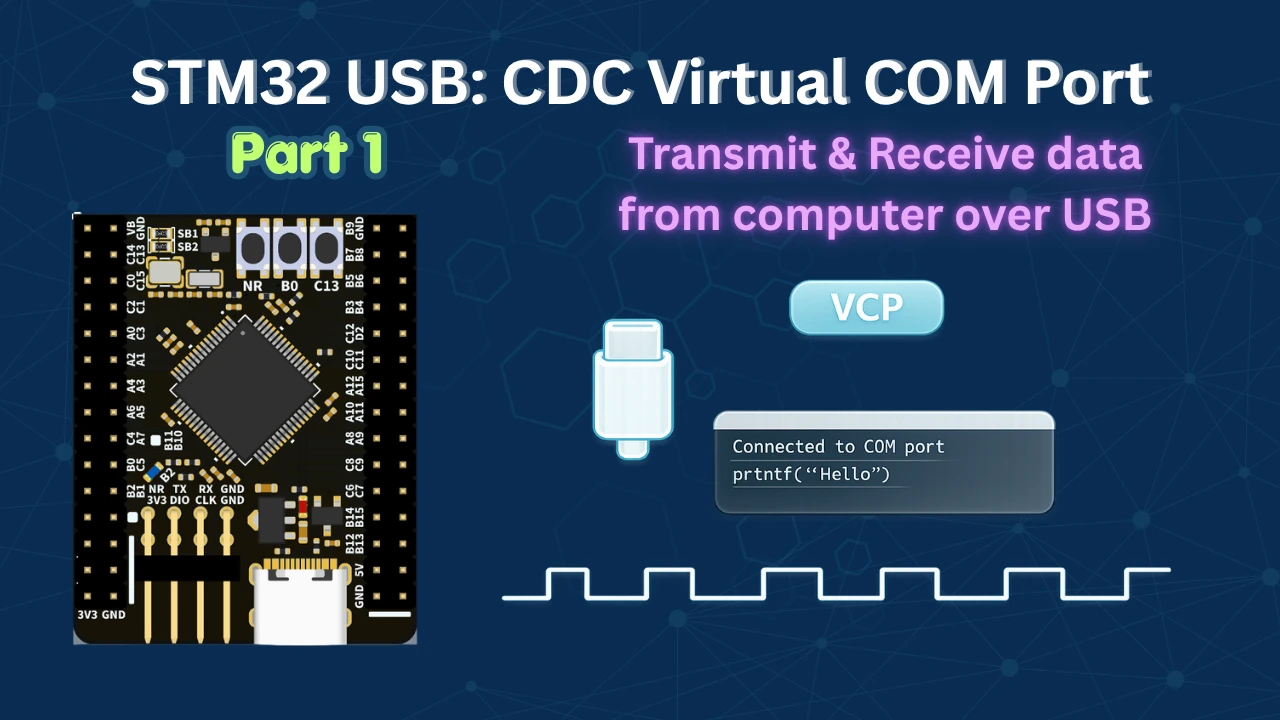
STM32 USB CDC: Virtual COM Port Setup, Transmit & Receive Data
Most STM32 projects use a USB-to-UART bridge chip just to get serial data to a PC. It works, but it adds an extra component and an extra cable. With the USB CDC (Communication Device Class), we can skip all of that. The STM32’s own USB peripheral can talk directly to the computer and appear as a virtual COM port — no bridge chip needed, just a single USB cable.
In this tutorial, we will set up the USB peripheral in CDC mode using STM32CubeMX, transmit data from the STM32 to a PC, receive commands to control an LED, and use printf directly over USB. We will also look at one important behavioural difference between the F446 and Blue Pill boards that can catch you off guard.
This is the first tutorial in the STM32 USB series. In the upcoming parts, we will cover Mass Storage, HID, and DFU classes. Let’s start with CDC.
You can follow the other parts of this series here:
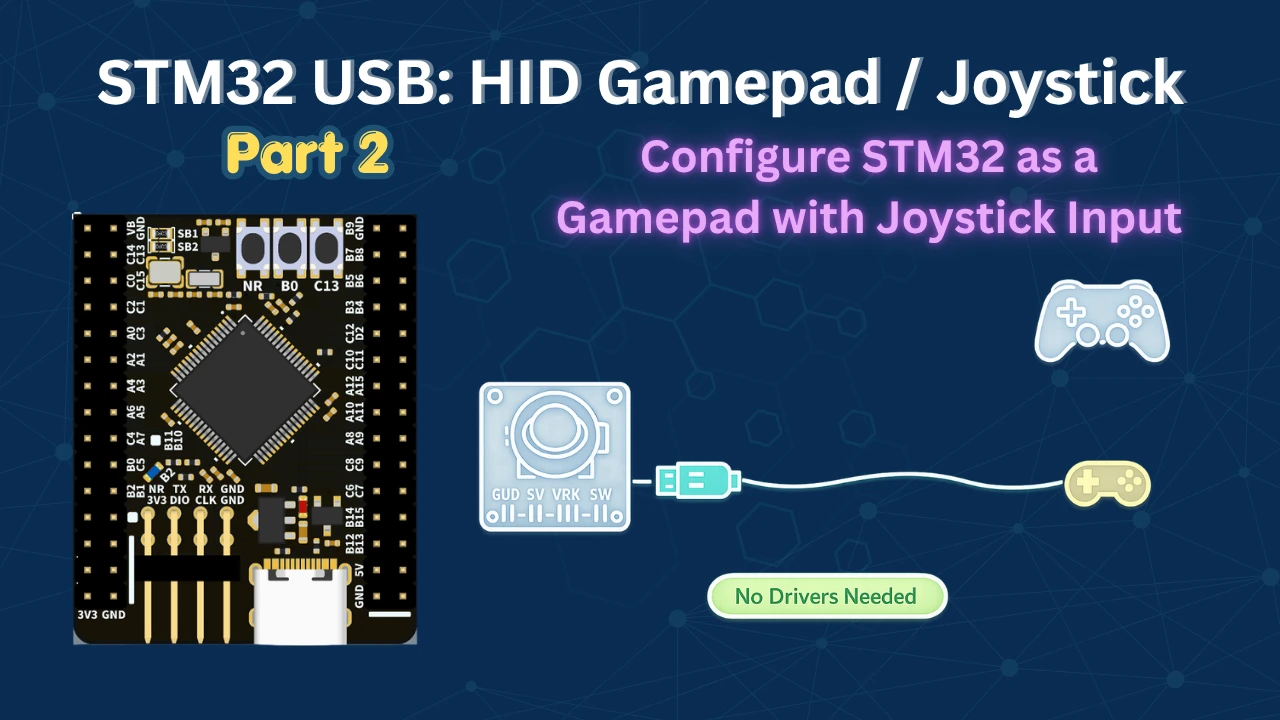
- Part 2: STM32 USB HID Gamepad
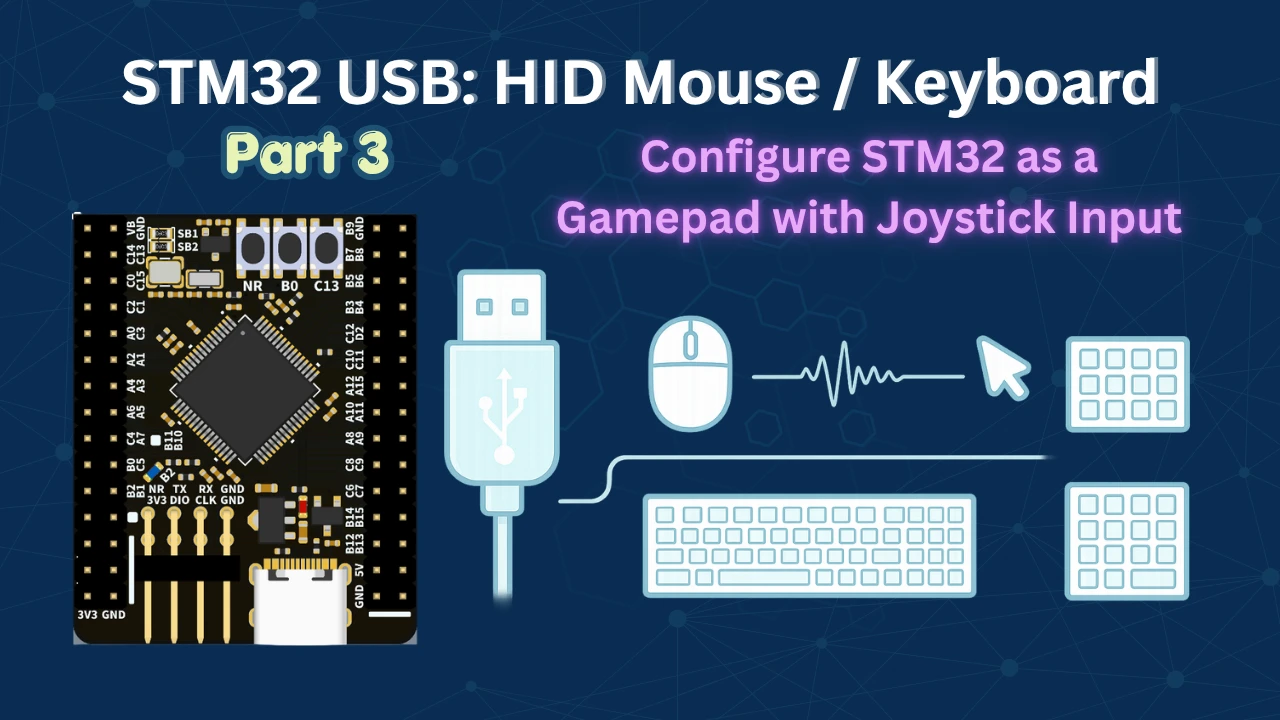
- Part 3: STM32 USB HID Mouse and Keyboard
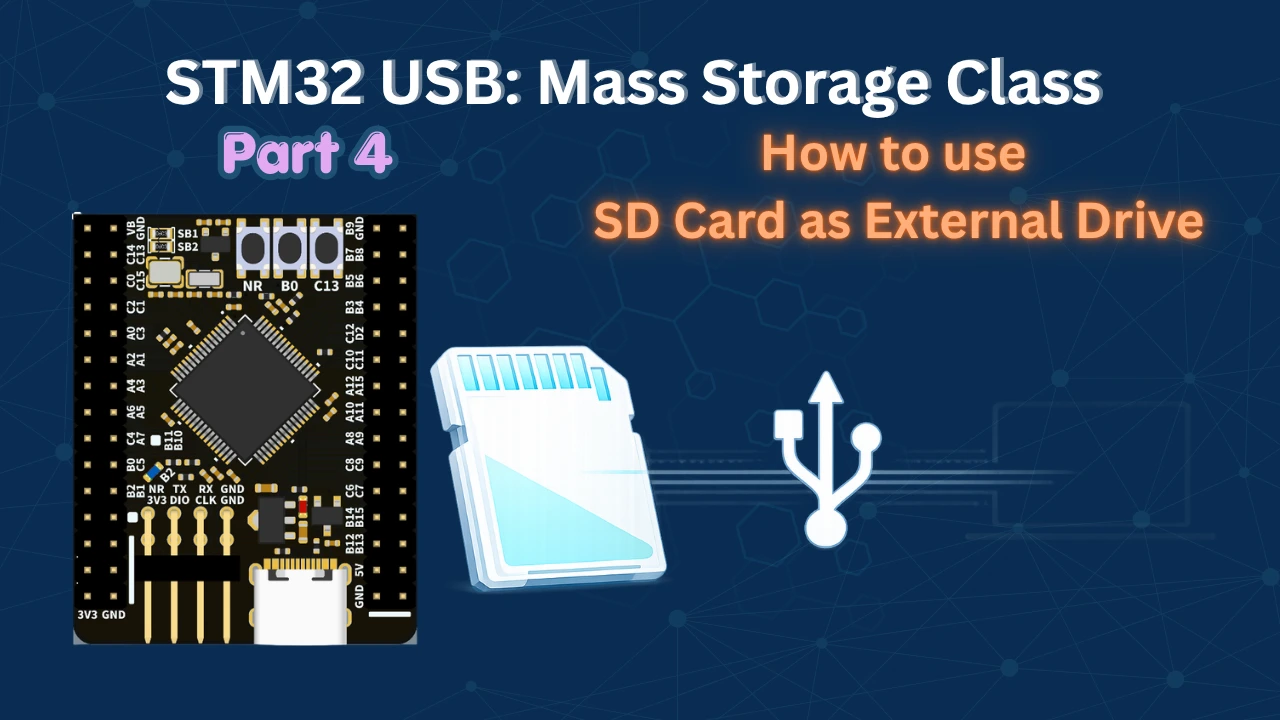
- Part 4: STM32 USB MSC SD Card as External Drive
- Part 5: STM32 USB MSC with W25Q NOR Flash
- Part 6: STM32 USB Composite Device (CDC + HID)
USB CDC on STM32 — How It Works
Before jumping into CubeMX, it helps to understand what USB CDC actually is and which hardware supports it. The configuration you choose in CubeMX depends directly on which USB peripheral is available on your board, so this section is worth reading carefully.
What Is USB CDC?
USB CDC stands for Communication Device Class. It is a standard USB class that allows a microcontroller to present itself to a host computer as a serial port. Once the driver is loaded on the PC side (which happens automatically on Linux and macOS, and usually on Windows 10+), the device appears as a COM port and you can open it with any serial monitor application.
The key advantage over regular UART is that you do not need a separate USB-to-UART bridge chip. The STM32’s own USB peripheral handles everything. And since data flows over USB, the baud rate setting in your serial monitor does not actually matter — the transfer speed is governed by the USB protocol, not a baud rate divider.
USB Availability Across STM32 Boards
Not every STM32 board exposes a user-accessible USB port. This is one of the most common points of confusion, so I want to be clear about it.
Custom development boards — like the weAct Studio F446 board I am using here, or the DevEBox H7 board — typically have a single USB connector that can be programmed freely. The classic Blue Pill also falls into this category. On all of these boards, the USB port is yours to use.


Nucleo-64 boards from ST are a different story. The USB connector on a standard Nucleo-64 is reserved for STLink and cannot be used for USB peripheral programming. You can still get a virtual COM port on Nucleo boards using UART bridged over STLink, but that is not the same thing as what we are doing here. The Nucleo-144 and most Discovery boards are better — they come with a second “User USB” connector that you can program freely.


Full Speed vs High Speed USB Peripheral
The STM32F446 has two USB peripherals: USB OTG FS (Full Speed) and USB OTG HS (High Speed). Full Speed operates at 12 Mbps, while High Speed can go up to 480 Mbps.
In practice though, High Speed requires an external PHY chip to reach those speeds. Without it, you can still use the HS peripheral in internal Full Speed mode, but that uses PB14 and PB15 as USB pins — which do not match the USB connector on most custom boards. Since the weAct Studio board wires the USB connector to PA11 and PA12, we use the OTG FS peripheral throughout this series. It is also the more commonly available peripheral across STM32 families.
Wiring & Board Connections
For this tutorial, the wiring is minimal — just a USB cable from the STM32 board to the computer. But there are a couple of things worth checking on your specific board before you start.
USB Pins on the STM32F446 (weAct Studio Board)
The weAct Studio F446 board has a USB-C connector, and its data lines are connected to PA11 (D−) and PA12 (D+). This is the standard pin mapping for the USB OTG FS peripheral on most STM32 devices. The board also has an 8 MHz crystal, which we will use to generate the main system clock and derive the 48 MHz required by the USB peripheral.

I am also using pin PB2 as a GPIO output for the onboard LED. We will use this LED later to verify that our receive logic is working.
What to Check on Your Own Board
If you are using a different board, check two things in the schematic:
- Which pins the USB connector is wired to. For OTG FS, it should be PA11 and PA12. If it is PB14/PB15, you are looking at the HS peripheral’s internal PHY pins instead.
- Whether there is an external crystal. The USB peripheral needs exactly 48 MHz, and you typically derive this from the main PLL. A crystal gives you a clean, accurate clock source. If your board uses the internal HSI oscillator, you may have trouble hitting 48 MHz precisely.
STM32 USB CDC — CubeMX, Code & Results
Now let’s go through the full implementation. We will configure the project in STM32CubeMX, write the transmit and receive code, add printf support, and then look at a behavioral difference between the F446 and Blue Pill boards.
CubeMX Configuration for USB CDC
The first thing we need to do is enable the USB peripheral. Locate and enable the USB Device (FS) or USB OTG FS peripheral, depending on your board. Make sure to choose Device Only mode, since we are using STM32 as a USB device connected to a PC. Once you do this, CubeMX automatically assigns PA11 and PA12 as the USB D− and D+ lines.

Note that all the parameters, low power mode, VBUS sensing, SOF output are disabled for a basic CDC setup. We will cover them in detail as we go ahead with this USB series.
Now go to the Middleware section and set the USB Device class to Communication Device Class (CDC). Under the CDC parameters, I changed both the RX and TX buffer sizes from 2048 to 512 bytes, since we are not doing any high-throughput transfers.

A few parameters worth noting:
- Max number of configurations: Keep this at 1. Multiple configurations are used in composite device scenarios.
- Max number of interfaces: Keep this at 1 for now. In later tutorials we will add composite interfaces.
- USB self-powered: Set to enabled, since the board has its own power supply and does not draw operating power from the USB bus.
Next we need to set up is the clock. Enable the external high-speed oscillator (HSE) using the onboard 8 MHz crystal, and use the PLL to scale the system clock up to 180 MHz. We also need to make sure the USB peripheral receives exactly 48 MHz — go into the clock tree and adjust the PLL multipliers and dividers accordingly.

Finally, configure pin PB2 as a GPIO output for the onboard LED.

Go to the Project Manager tab, name the project, select STM32CubeIDE as the toolchain, and generate.

Transmitting Data over USB
After generating the project, you will find a folder called USB_DEVICE containing all the USB-related source files. The file we care about most is usbd_cdc_if.c. This is where CDC communication is handled.
For transmission, we use the CDC_Transmit_FS() function. Unlike the receive function, this one is not static, so we can call it from main.c. Start by including the header:
#include "usbd_cdc_if.h"Then inside the while loop, call the transmit function to send a string every second:
int main ()
{
  ....
  ....
  while (1){
    CDC_Transmit_FS((uint8_t *)"Hello World\n", 12);
    HAL_Delay(1000);
  }
}Note the cast to uint8_t *. The function expects an unsigned byte pointer, and a string literal is a char *, so the cast is required to suppress the compiler warning.
Output
The image below shows “Hello World” printing on the serial monitor every second. The baud rate setting in the serial monitor does not affect anything — USB CDC ignores it entirely.

Receiving Data and Controlling an LED
Receiving data is a bit different because the CDC receive function, CDC_Receive_FS(), is declared as static in usbd_cdc_if.c. We cannot call it from elsewhere — it runs automatically whenever the host sends data. So we need to share its results with main.c using global variables.
Inside usbd_cdc_if.c, define two variables — a flag to signal that new data has arrived, and a length variable to store how many bytes came in:
/* In usbd_cdc_if.c */
uint8_t recvDone = 0;
uint32_t recvLen = 0;Then inside CDC_Receive_FS(), set these variables after the packet is received:
static int8_t CDC_Receive_FS(uint8_t* Buf, uint32_t *Len)
{
  USBD_CDC_SetRxBuffer(&hUsbDeviceFS, &Buf[0]);
  USBD_CDC_ReceivePacket(&hUsbDeviceFS);
  recvDone = 1;
  recvLen = *Len;
  return (USBD_OK);
}In main.c, declare these as extern so the file can access them, and also declare the RX buffer:
extern uint8_t UserRxBufferFS[APP_RX_DATA_SIZE];
extern uint8_t recvDone;
extern uint32_t recvLen;Now inside the while loop, check the flag and act on the received command:
if (recvDone == 1)
{
recvDone = 0;
if (strncmp((char *)UserRxBufferFS, "ON", recvLen) == 0)
{
HAL_GPIO_WritePin(GPIOB, GPIO_PIN_2, 1);
CDC_Transmit_FS((uint8_t *)"LED Turned ON\n", 16);
}
else if (strncmp((char *)UserRxBufferFS, "OFF", recvLen) == 0)
{
HAL_GPIO_WritePin(GPIOB, GPIO_PIN_2, 0);
CDC_Transmit_FS((uint8_t *)"LED Turned OFF\n", 17);
}
}We use strncmp instead of strcmp so that we compare exactly recvLen bytes — this avoids false matches if the buffer contains leftover data. Remember to include string.h at the top of main.c.
Full Code — main.c
/* USER CODE BEGIN Includes */
#include "usbd_cdc_if.h"
#include "string.h"
/* USER CODE END Includes */
/* USER CODE BEGIN 0 */
extern uint8_t UserRxBufferFS[APP_RX_DATA_SIZE];
extern uint8_t recvDone;
extern uint32_t recvLen;
int testNum = 1234;
/* USER CODE END 0 */
int main(void)
{
HAL_Init();
SystemClock_Config();
MX_GPIO_Init();
MX_USB_DEVICE_Init();
while (1)
{
if (recvDone == 1)
{
recvDone = 0;
if (strncmp((char *)UserRxBufferFS, "ON", recvLen) == 0)
{
HAL_GPIO_WritePin(GPIOB, GPIO_PIN_2, 1);
CDC_Transmit_FS((uint8_t *)"LED Turned ON\n", 16);
}
else if (strncmp((char *)UserRxBufferFS, "OFF", recvLen) == 0)
{
HAL_GPIO_WritePin(GPIOB, GPIO_PIN_2, 0);
CDC_Transmit_FS((uint8_t *)"LED Turned OFF\n", 17);
}
}
}
}Full Code — usbd_cdc_if.c (relevant section)
uint8_t UserRxBufferFS[APP_RX_DATA_SIZE];
uint8_t UserTxBufferFS[APP_TX_DATA_SIZE];
/* USER CODE BEGIN PRIVATE_VARIABLES */
uint8_t recvDone = 0;
uint32_t recvLen = 0;
/* USER CODE END PRIVATE_VARIABLES */
static int8_t CDC_Receive_FS(uint8_t* Buf, uint32_t *Len)
{
  USBD_CDC_SetRxBuffer(&hUsbDeviceFS, &Buf[0]);
  USBD_CDC_ReceivePacket(&hUsbDeviceFS);
  recvDone = 1;
  recvLen = *Len;
  return (USBD_OK);
}Output
The image below shows the serial monitor after sending “ON” and “OFF” commands. The LED responds immediately and a confirmation message prints back on the console.


Redirecting printf over USB CDC
One practical use case for USB CDC on custom STM32 boards is using it as a debug console with printf. On Nucleo boards, you usually get this through UART over STLink. On custom boards, CDC is a cleaner alternative.
To enable printf over USB, we override the _write syscall. This function is what the C runtime calls internally when you use printf. We just redirect it to send data over USB:
int _write(int file, char *ptr, int len)
{
while (CDC_Transmit_FS((uint8_t *)ptr, len) == USBD_BUSY)
{
HAL_Delay(1);
}
return len;
}The while loop is important here. CDC_Transmit_FS is non-blocking, so if the USB peripheral is still busy from a previous transfer, the function returns immediately without sending anything. The loop keeps retrying until the peripheral is free, ensuring the full data is transmitted before _write returns.
With this in place, you can call printf anywhere in your project and the output will appear in the serial monitor over USB:
printf("Printing via printf() %d\r\n", testNum);
HAL_Delay(1000);Full Code — main.c with printf over USB
/* USER CODE BEGIN Includes */
#include "usbd_cdc_if.h"
#include "string.h"
/* USER CODE END Includes */
/* USER CODE BEGIN 0 */
extern uint8_t UserRxBufferFS[APP_RX_DATA_SIZE];
extern uint8_t recvDone;
extern uint32_t recvLen;
int _write(int file, char *ptr, int len)
{
    while (CDC_Transmit_FS((uint8_t *)ptr, len) == USBD_BUSY)
    {
        HAL_Delay(1);
    }
    return len;
}
int testNum = 1234;
/* USER CODE END 0 */
int main(void)
{
HAL_Init();
SystemClock_Config();
MX_GPIO_Init();
MX_USB_DEVICE_Init();
while (1)
{
printf("Printing via printf() %d\r\n", testNum);
HAL_Delay(1000);
}
}Output
The image below shows the printf output printing to the serial monitor every second over USB. This confirms that the _write override is working correctly.

USB Reconnect Behavior — F446 vs Blue Pill
The plug-and-play behavior we see on the F446 board does not work the same way on all STM32 boards. The Blue Pill is a good example of a board that behaves differently, and it is worth understanding why.
On the F446 board, if you reflash the firmware while the USB cable is connected, the device briefly disappears from the serial monitor and then reappears automatically once flashing is complete. You do not need to unplug and replug the cable.
On the Blue Pill, after reflashing, the USB device still shows up in the serial monitor — but nothing gets printed. Even if you disconnect and reconnect in the software, nothing happens. You have to physically unplug the USB cable and plug it back in before the device starts working again.
This happens because the Blue Pill does not properly reinitialize the USB peripheral after a firmware reset. The F446 handles this more gracefully.
You can check it in the video tutorial attached below.
STM32 USB CDC Virtual COM Port — Video Tutorial
This video walks through the complete setup of USB CDC on STM32 using STM32CubeMX. We configure the USB OTG FS peripheral in device mode, transmit and receive data over a Virtual COM Port, and enable printf over USB — no extra hardware needed.
STM32 USB CDC — Frequently Asked Questions
Conclusion
That covers everything for the USB CDC class. We configured the USB OTG FS peripheral in CubeMX, got data flowing from the STM32 to a PC, handled incoming commands to control an LED, and set up printf over USB — all with a single cable and no extra hardware.
One thing worth keeping in mind: the reconnect behavior after reflashing is not the same on every board. On the F446 it just works, but on the Blue Pill you need to physically unplug and replug the USB cable. Keep that in mind when debugging.
In the next tutorial, we will configure the USB Device HID Class. STM32 will be recognized as a fully functional game controller without installing any drivers on our computer.
Download STM32 USB CDC Project
Open source CubeMX project files and HAL source code, tested on real hardware. Free to use — support the work if it helped you.
Browse More STM32 USB Tutorials
STM32 as USB Mouse and Keyboard — HID Device Implementation
STM32 USB Mass Storage Class: Use SD Card as External Drive
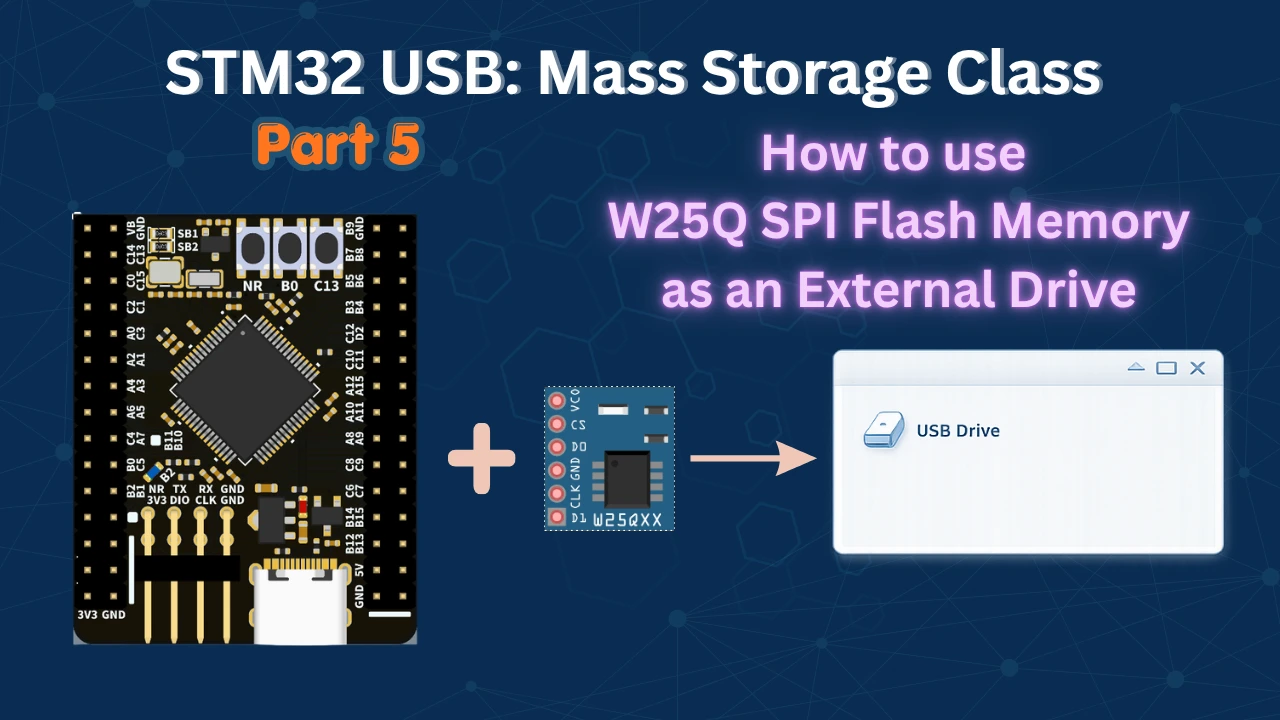
STM32 USB Mass Storage Class with W25Q NOR Flash: External Drive over SPI
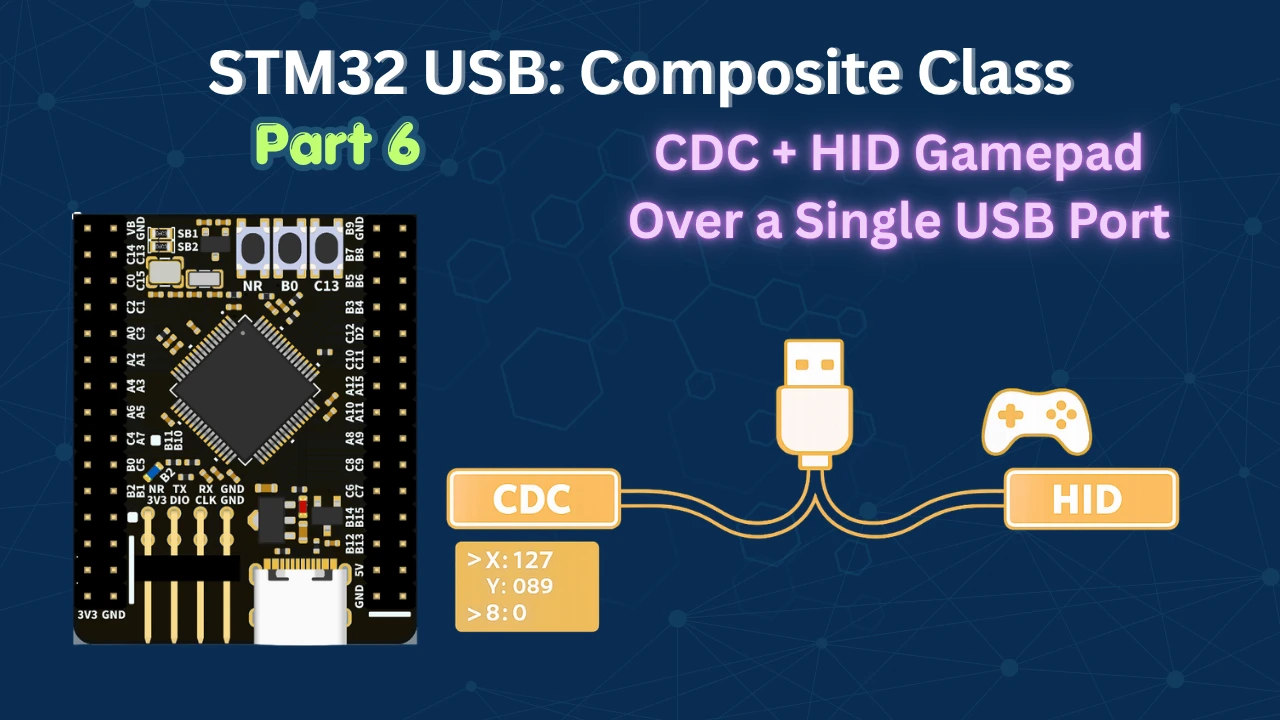
STM32 USB Composite Class: CDC + HID Gamepad on One USB Port

STM32 USB HID: Combine Mouse and Keyboard on One Port

Subscribe
Login
0 Comments
Newest
