Home ▸ ESP32 ▸ FreeRTOS Tutorials ▸
Updated On: April 26, 2026
ESP32 FreeRTOS Software Timers and Task Notifications (ESP-IDF)
vTaskDelay() is fine for pausing a task, but for periodic work it wastes a dedicated task and its stack just to loop through a delay. Software timers solve this cleanly — they fire a callback function at an interval without needing a dedicated task at all. Task notifications go the other way: instead of creating a queue to signal one task from another, a single function call directly unblocks the target task.
This is Part 5 of the ESP32 FreeRTOS Series. It covers one-shot and auto-reload software timers using xTimerCreate(), starting and stopping timers at runtime, implementing timer callbacks, and using xTaskNotify() and ulTaskNotifyTake() for lightweight direct task signaling without a queue. Both are combined in the final example — a timer that notifies a task each time it fires.
This is Part 5 of the ESP32 FreeRTOS Series using ESP-IDF. You can check the other parts as well, here are the links:
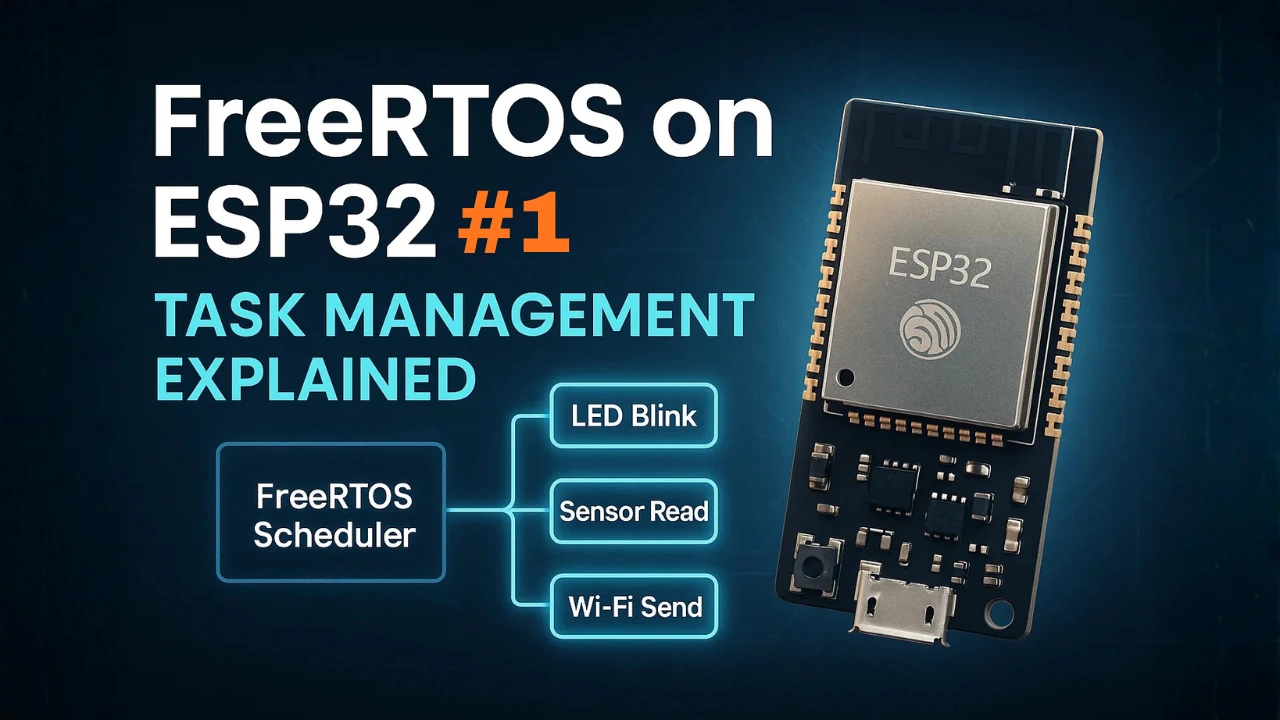
- Part 1 — Intro to FreeRTOS: Tasks, Scheduler & xTaskCreate
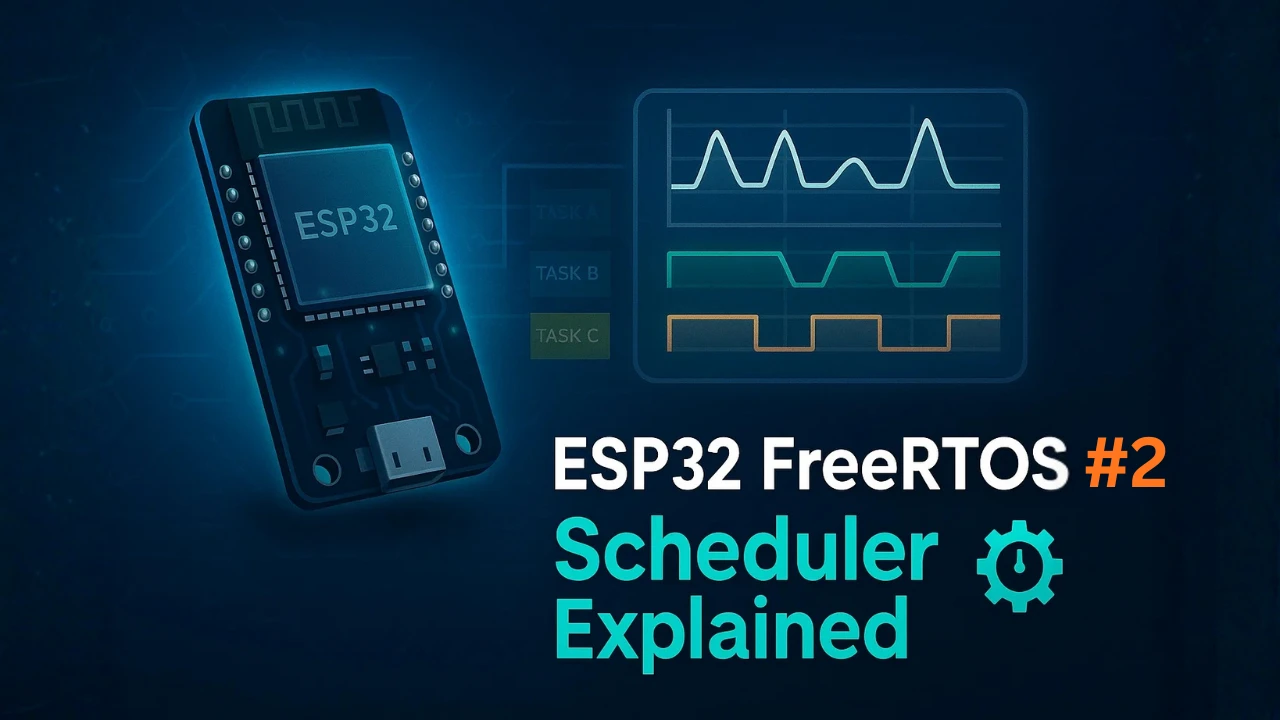
- Part 2 — Understanding the FreeRTOS Scheduler
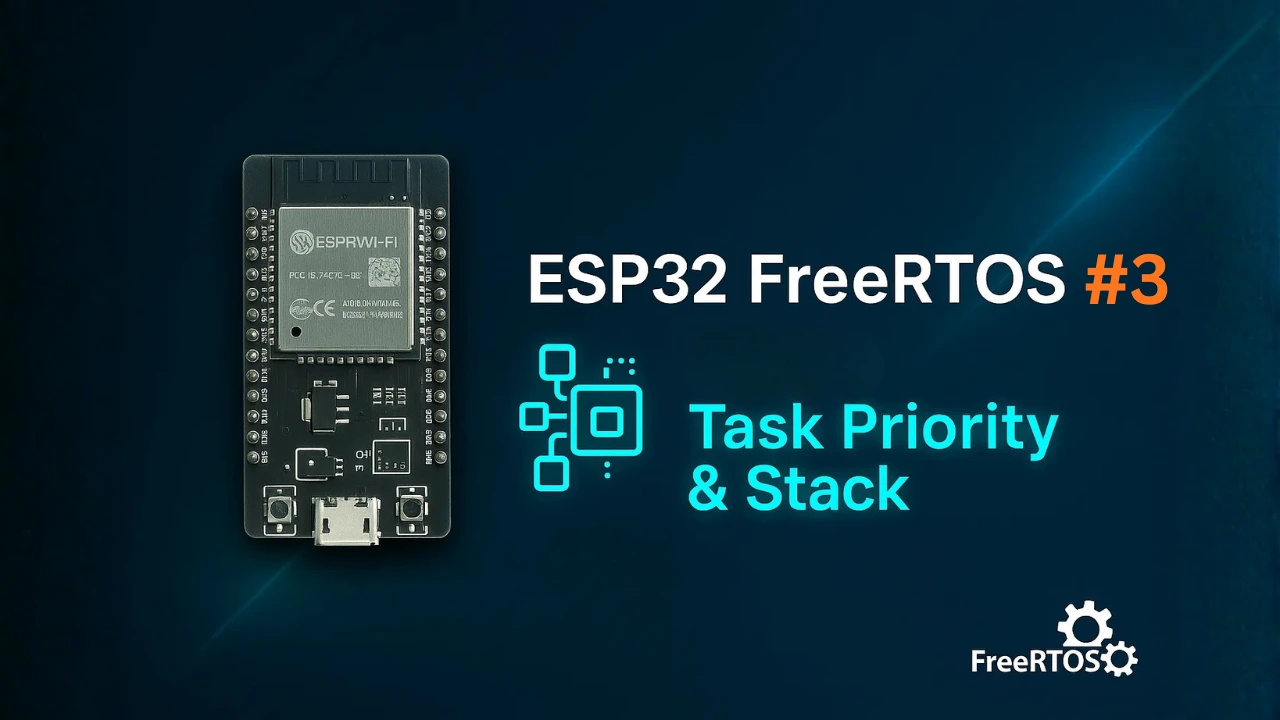
- Part 3 — Task Priority & Stack Management
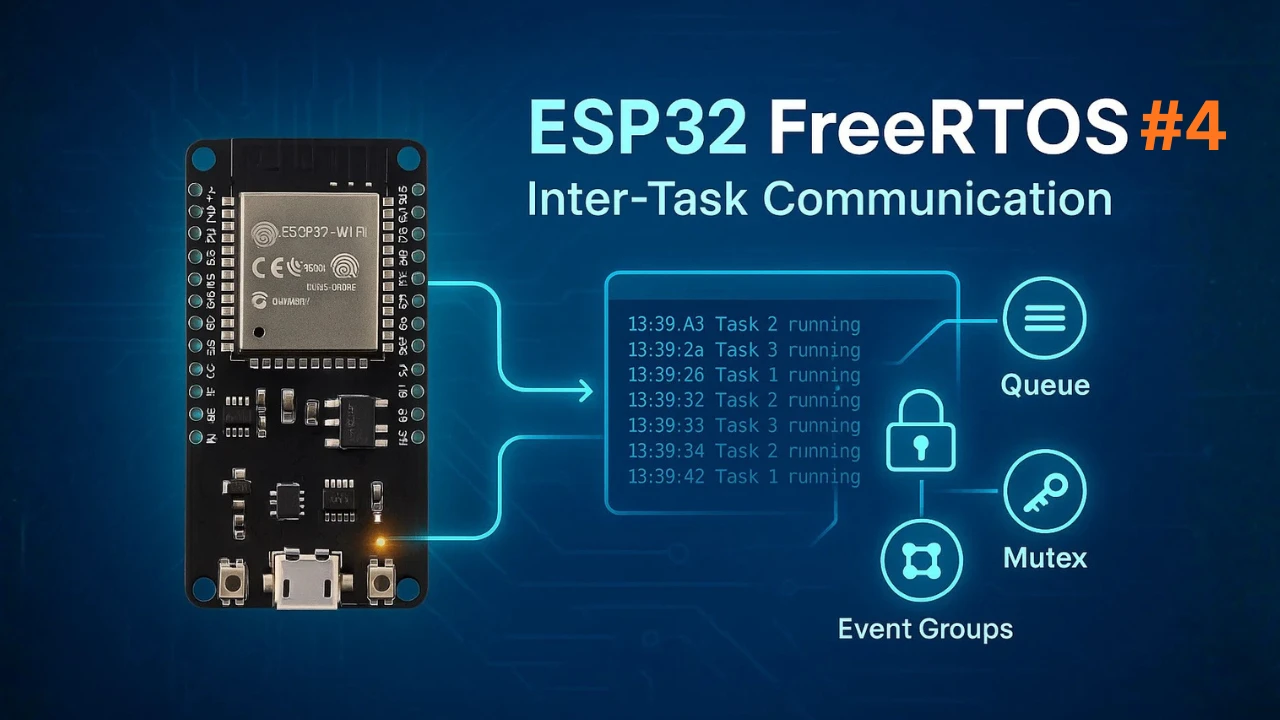
- Part 4 — Inter-Task Communication: Queues, Semaphores & Event Groups
- Part 5 — Software Timers & Task Notifications ← you are here
- Part 6 — Task Control: Suspend, Resume & Delete
- Part 7 — Real-Time Multitasking Project (ADC, UART, LED)
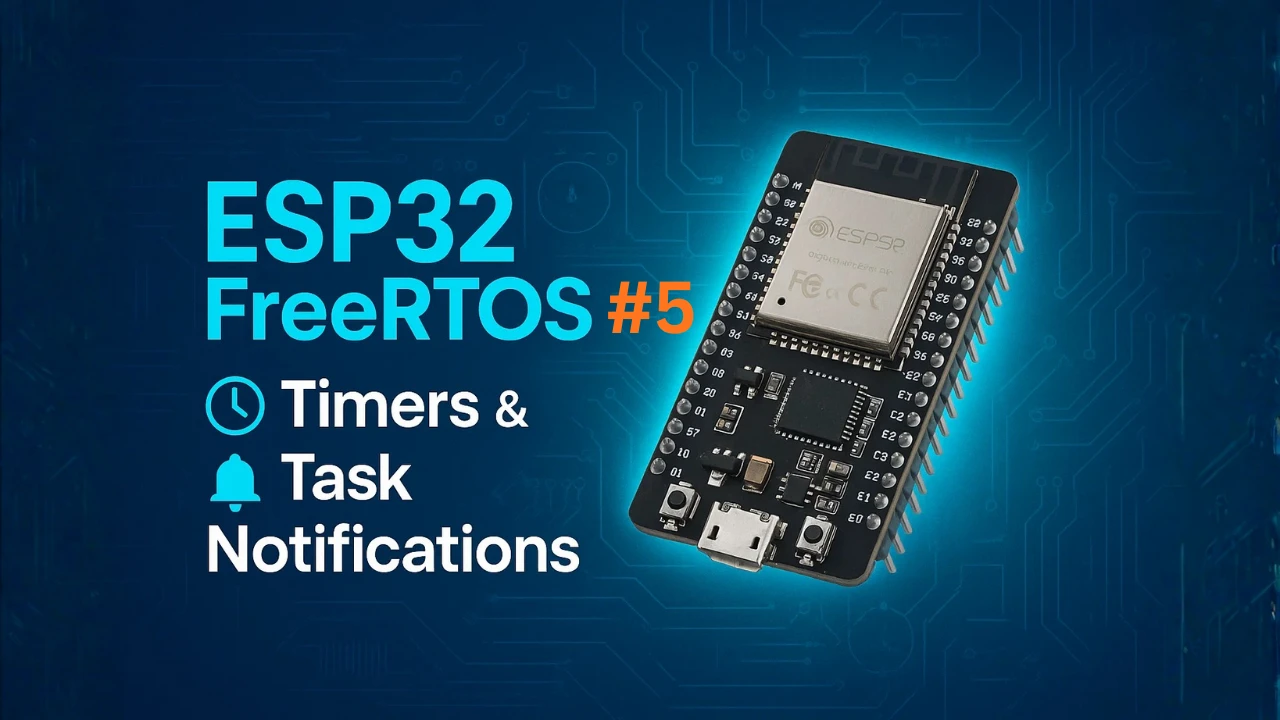
Table Of Contents
Software Timers vs vTaskDelay: When to Use Each
In FreeRTOS, timing and synchronization play a major role in task management. Sometimes we need a function to run at regular intervals — like blinking an LED, reading a sensor, or sending data to a server every few seconds. Instead of creating a separate task with vTaskDelay(), we can use FreeRTOS Software Timers.
Similarly, when two tasks need to communicate quickly and efficiently, Task Notifications offer a lightweight alternative to queues or semaphores. In this section, we’ll understand what these features are and why they are so useful in ESP32 FreeRTOS applications.
Why Timers Are Better Than vTaskDelay for Periodic Work
Timers are used whenever we want to perform an action periodically or after a specific time delay. For example:
- Turning an LED ON and OFF every second
- Checking sensor data every 100 ms
- Sending heartbeat messages to a server
In traditional tasks, we could use vTaskDelay() or vTaskDelayUntil(), but that keeps the task blocked during the delay. Software timers, on the other hand, free up the CPU. The timer runs in the background and calls a callback function only when the time expires.
This means less CPU usage, better timing precision, and cleaner code, especially for recurring operations.
Difference Between Hardware and Software Timers
It’s important to understand the difference between hardware and software timers on the ESP32.
| Feature | Hardware Timer | Software Timer |
|---|---|---|
| Runs On | Microcontroller’s internal hardware counter | FreeRTOS kernel (Timer Service Task) |
| Accuracy | Very high | Depends on system tick rate |
| Interrupt Based | Yes | No, handled in software |
| Flexibility | Limited (fixed count) | Highly flexible |
| Callback Context | ISR (Interrupt) | Normal task context |
| CPU Usage | Minimal | Uses CPU time (via kernel) |
- Hardware timers are best for precise, low-latency timing (like PWM or sensor sampling).
- Software timers are best for general-purpose periodic tasks where timing precision in milliseconds is acceptable.
ESP32 provides both options, and FreeRTOS software timers are ideal for most scheduling and control operations.
What are Task Notifications in FreeRTOS
Task Notifications are a fast and lightweight way for tasks to signal each other. Each task in FreeRTOS has a built-in notification value that can be updated by another task or an ISR (Interrupt Service Routine).
You can think of a task notification as a direct message to a specific task, without needing to use a queue or semaphore.
Task notifications can:
- Wake up a blocked task
- Send simple data (like a counter or flag)
- Replace binary or counting semaphores for efficiency
For example, one task can notify another when a timer expires, when data is ready, or when an event occurs.
They are faster and use less memory than queues or semaphores, which makes them perfect for real-time, resource-constrained ESP32 applications.
FreeRTOS Software Timers on ESP32
FreeRTOS Software Timers allow you to execute a specific function automatically after a set time interval — without creating a separate task for it. These timers are managed entirely by the FreeRTOS kernel, making them very efficient and easy to use on the ESP32.
In this section, we’ll look at how these timers work, how to create and handle their callback functions, and what happens behind the scenes when you start one.
How Software Timers Work in ESP32 FreeRTOS
A software timer in FreeRTOS works by counting the system ticks generated by the kernel. When the timer expires, FreeRTOS automatically calls a callback function that we define.
Here’s a simple explanation of what happens:
- We create a timer using
xTimerCreate(). - Start the timer using
xTimerStart(). - FreeRTOS adds the timer to a special timer list.
- When the timer reaches its timeout value, the kernel schedules the callback function.
- The callback runs in a background task, not an interrupt.
Unlike hardware timers, software timers don’t run in real time — they depend on the tick rate configured in your FreeRTOS setup (usually 1000 Hz = 1 ms tick).
That’s accurate enough for most general-purpose tasks like LED blinking, sensor reading, or timed events.
One-Shot and Auto-Reload Timers
FreeRTOS supports two types of software timers:
| Type | Description | Example Use |
|---|---|---|
| One-Shot Timer | Runs only once when started. You must restart it manually. | Delayed startup action or timeout event |
| Auto-Reload Timer | Automatically restarts after each expiration. | Periodic LED blinking or sensor reading |
You can define the type while creating the timer using this parameter:
xTimerCreate("MyTimer", pdMS_TO_TICKS(1000), pdTRUE, 0, myTimerCallback);- Use
pdTRUEfor Auto-Reload Timer - Use
pdFALSEfor One-Shot Timer
This makes it very flexible — the same callback can behave differently based on the timer type.
Timer Service Task
All software timers in FreeRTOS are managed by a special Timer Service Task (also called the Timer Daemon Task).
This task runs automatically in the background and handles:
- Timer creation and deletion
- Starting and stopping timers
- Executing timer callbacks
When you start the FreeRTOS scheduler, this service task is created automatically. Its priority and stack size are configured by two macros in FreeRTOSConfig.h:
#define configTIMER_TASK_PRIORITY        (configMAX_PRIORITIES - 1)
#define configTIMER_TASK_STACK_DEPTH (configMINIMAL_STACK_SIZE * 2)You normally don’t need to modify these settings unless your timer callbacks use a lot of stack space.
Note:
Since all timer callbacks run in this single service task, avoid writing time-consuming code inside them — it may delay other timers.
Creating a Timer with xTimerCreate()
Creating a software timer in FreeRTOS involves four main steps:
- Define the callback function
This function runs automatically when the timer expires.
Example:void myTimerCallback(TimerHandle_t xTimer) - Create the timer handle
You usexTimerCreate()to create a timer and assign it to a handle.
TimerHandle_t myTimer;
myTimer = xTimerCreate("MyTimer", pdMS_TO_TICKS(1000), pdTRUE, (void *)0, myTimerCallback);Parameters explained:
- Name: Optional name for debugging.
- Period: Time interval in ticks.
- Auto-reload: pdTRUE for repeating timer, pdFALSE for one-shot.
- Timer ID: Used to identify the timer (can be NULL or any pointer).
- Callback: Function to run when the timer expires.
- Check if the timer was created successfully
if (myTimer == NULL) printf("Timer creation failed!\n"); else printf("Timer created successfully!\n");- Start the timer
Once created, the timer doesn’t start automatically.
You must start it with:xTimerStart(myTimer, 0);
That’s it! Your software timer is now active and will call the callback at the interval you set.
Timer Callback Function
Every software timer in FreeRTOS must have a callback function. This is the function that gets executed when the timer expires.
The function is defined as:
void vTimerCallback( TimerHandle_t xTimer );Inside this function, you can:
- Toggle an LED
- Send a notification to a task
- Restart or stop the timer
- Perform any other small operation
Example:
void myTimerCallback(TimerHandle_t xTimer)
{
    printf("Timer expired! Performing action...\n");
}When you create the timer, you attach this callback:
TimerHandle_t myTimer = xTimerCreate("MyTimer", pdMS_TO_TICKS(1000), pdTRUE, 0, myTimerCallback);This means your callback will run every 1000 ms (1 second) when the timer expires.
Note:
The callback runs in the context of the Timer Service Task, so avoid long or blocking operations here.
Starting, Stopping, and Resetting Timers
FreeRTOS gives you several functions to control timers dynamically:
| Function | Description |
|---|---|
xTimerStart() | Starts the timer from stopped state |
xTimerStop() | Stops a running timer |
xTimerReset() | Resets the timer’s count back to zero |
xTimerChangePeriod() | Changes the timer period during runtime |
xTimerDelete() | Deletes the timer completely |
Example usage:
xTimerStart(myTimer, 0);     // Start timer
vTaskDelay(pdMS_TO_TICKS(5000));
xTimerStop(myTimer, 0);      // Stop timer after 5s
xTimerReset(myTimer, 0);     // Restart timer count
xTimerChangePeriod(myTimer, pdMS_TO_TICKS(2000), 0); // Change to 2s periodThese functions can be called from both tasks and ISRs, but use the FromISR versions (like xTimerStartFromISR()) inside interrupt routines.
Timer Example: Periodic LED Blink (No Task Needed)
Here’s a complete working example using ESP-IDF and FreeRTOS:
#include <stdio.h>
#include "freertos/FreeRTOS.h"
#include "freertos/task.h"
#include "freertos/timers.h"
#include "driver/gpio.h"

TimerHandle_t myTimer;
#define LED_PIN 2
bool ledLevel = false;

void myTimerCallback(TimerHandle_t xTimer)
{
    printf("Timer expired! Callback executed.\n");
	ledLevel = !ledLevel;
	gpio_set_level(LED_PIN, ledLevel);
}

void app_main(void)
{
	gpio_reset_pin(LED_PIN);
	gpio_set_direction(LED_PIN, GPIO_MODE_OUTPUT);

    myTimer = xTimerCreate("MyTimer", pdMS_TO_TICKS(1000), pdTRUE, 0, myTimerCallback);

    if (myTimer == NULL)
    {
        printf("Timer creation failed!\n");
    }
    else
    {
        printf("Starting timer...\n");
        xTimerStart(myTimer, 0);
    }
}This code demonstrates how to toggle an LED using a FreeRTOS software timer on an ESP32.
It first configures the GPIO pin as an output for the LED. Then, a periodic FreeRTOS timer is created with a 1-second interval. Each time the timer expires, the callback function runs automatically, inverting the LED state and printing a message to the console.
Timer Result and Output
The gif below shows the output of the above code.

As shown above, the timer expires every 1 second, triggering the callback function. Each time the callback runs, a message is printed to the console, and the LED toggles at the same interval.
FreeRTOS Task Notifications on ESP32
Task Notifications are one of the most powerful and lightweight features of FreeRTOS. They allow tasks to send signals or small data values directly to each other without using queues, semaphores, or other complex IPC (inter-process communication) mechanisms.
In this section, we’ll learn what task notifications are, why they’re better in many cases than queues and semaphores, and how to use them effectively in ESP32 FreeRTOS.
What are Task Notifications
In FreeRTOS, every task has an internal notification value (like a built-in variable). This value can be set, incremented, or used as a flag by other tasks or even by interrupt service routines (ISRs).
You can think of it as a private mailbox for each task.
When another task or an ISR sends a notification, the target task can:
- Wake up if it was waiting for a notification
- Read the notification value
- Reset it automatically
FreeRTOS provides different APIs for notifications, such as:
xTaskNotifyGive()
xTaskNotify()
xTaskNotifyFromISR()
ulTaskNotifyTake()
xTaskNotifyWait()These allow sending signals or small integers very efficiently — often faster and lighter than queues.
Advantages Over Queues and Semaphores
While queues and semaphores are extremely useful, task notifications are even more efficient for simple signaling or counting events.
Here’s why task notifications are often preferred:
| Feature | Queue | Semaphore | Task Notification |
|---|---|---|---|
| Memory Usage | High (needs buffer) | Medium | Very low (no buffer) |
| Speed | Slower | Moderate | Fastest |
| Data Type | Any (struct, bytes, etc.) | Binary or count | 32-bit integer |
| Use Case | Passing data | Synchronization | Signaling and counters |
If you just need to notify a task that an event occurred, using a task notification is much simpler and more efficient.
Example use cases:
- Notify a task when a timer expires
- Signal data ready from an ISR
- Count button presses or events
xTaskNotify() and ulTaskNotifyTake()
Let’s see how to send and receive notifications in FreeRTOS using ESP-IDF.
Sending a Notification
From a task:
xTaskNotifyGive(taskHandle);From an ISR:
xTaskNotifyGiveFromISR(taskHandle, NULL);From another task with custom value:
xTaskNotify(taskHandle, 0x01, eSetValueWithOverwrite);xTaskNotifyWait() for Value-Based Signals
In the receiving task:
ulTaskNotifyTake(pdTRUE, portMAX_DELAY);- The first parameter (
pdTRUE) clears the notification value after receiving. - The second parameter is the timeout (how long to wait).
Or you can use:
xTaskNotifyWait(0x00, 0x00, notiificationValue, portMAX_DELAY);This waits for a notification and stores the received value in notificationValue.
Task Notification Example: Timer Triggering a Task
Here’s a simple ESP32 FreeRTOS example where one task notifies another:
#include <stdio.h>
#include "freertos/FreeRTOS.h"
#include "freertos/task.h"

TaskHandle_t Task1Handle;
TaskHandle_t Task2Handle;

void Task1(void *pvParameters)
{
    while (1)
    {
        printf("Task1: Sending notification to Task2\n");
        xTaskNotifyGive(Task2Handle);
        vTaskDelay(pdMS_TO_TICKS(1000));
    }
}

void Task2(void *pvParameters)
{
    while (1)
    {
        ulTaskNotifyTake(pdTRUE, portMAX_DELAY);
        printf("Task2: Notification received!\n");
    }
}

void app_main(void)
{
	  xTaskCreate(Task2, "Task2", 2048, NULL, 2, &Task2Handle);
    xTaskCreate(Task1, "Task1", 2048, NULL, 2, &Task1Handle);
}This code demonstrates inter-task communication using FreeRTOS task notifications on the ESP32. Task1 periodically sends a notification to Task2 every second. Task2 waits for the notification and prints a message when it is received. This approach allows tasks to synchronize or signal events efficiently without using queues or semaphores.
Note:
When creating tasks, ensure that the task receiving the notification is created before the task sending it. If the sender runs first, it will attempt to notify a task that doesn’t exist yet, causing errors. Alternatively, you can delay the execution of the sender task to give the receiver time to start.
Notification Result and Output
The gif below shows the output of the above code for Task Notification.

You can see that the Task2, despite having no delay at all, runs only when the Notification is sent by the Task1. This means we can use Task Notification to synchronize the Tasks - no queue, no delay, just clean and fast communication.
Using FreeRTOS Timers to Trigger Task Notifications
So far, we have learned how to use FreeRTOS Software Timers and Task Notifications individually. Now, let’s see how we can combine both features to make our ESP32 projects even more efficient. Timers are great for generating periodic events, and task notifications are perfect for signaling tasks. When we combine them, we can easily trigger a specific task at regular intervals without using any delay or queue.
Using a Timer to Notify a Task
In many FreeRTOS applications, you may want a timer to notify a task whenever it expires.
For example:
- A timer can notify a task to read a sensor every second.
- A timer can signal a task to send data over UART or Wi-Fi.
- A timer can toggle an LED by notifying the control task.
Here’s the basic idea:
- A software timer runs periodically.
- Inside its callback function, we use
xTaskNotifyGive()orxTaskNotify()to signal another task. - The task waits using
ulTaskNotifyTake()until it receives the notification. - Once notified, it performs the desired action.
This method is non-blocking, lightweight, and perfect for real-time systems.
Example: LED Blinking Using Timer and Notification
Let’s write a simple example where:
- A timer triggers every 1 second.
- It notifies a task.
- The task toggles an LED each time it receives a notification.
Example Code
#include <stdio.h>
#include "freertos/FreeRTOS.h"
#include "freertos/task.h"
#include "freertos/timers.h"
#include "driver/gpio.h"

#define LED_PIN 2
bool ledLevel = false;


TaskHandle_t ledTaskHandle;
TimerHandle_t timerHandle;

void timerCallback(TimerHandle_t xTimer)
{
    // Notify the LED task
    xTaskNotifyGive(ledTaskHandle);
}

void ledTask(void *pvParameters)
{
    gpio_reset_pin(LED_PIN);
    gpio_set_direction(LED_PIN, GPIO_MODE_OUTPUT);

    while (1)
    {
        // Wait until timer notifies
        ulTaskNotifyTake(pdTRUE, portMAX_DELAY);

        // Toggle LED
        ledLevel = !ledLevel;
        gpio_set_level(LED_PIN, ledLevel);

        printf("LED toggled. State: %d\n", ledLevel);
    }
}

void app_main(void)
{
    printf("FreeRTOS Timer + Task Notification Example\n");

    // Create LED Task
    xTaskCreate(ledTask, "LED_Task", 2048, NULL, 2, &ledTaskHandle);

    // Create Timer (1 second period, auto-reload)
    timerHandle = xTimerCreate("LED_Timer", pdMS_TO_TICKS(1000), pdTRUE, NULL, timerCallback);

    if (timerHandle != NULL)
    {
        xTimerStart(timerHandle, 0);
        printf("Timer started successfully.\n");
    }
    else
    {
        printf("Timer creation failed!\n");
    }
}This code demonstrates how to toggle an LED using a FreeRTOS software timer and task notifications on the ESP32.
- The timer is created with a 1-second auto-reload period.
- The callback function (
timerCallback) doesn’t do any heavy work — it just notifies the LED task. - The LED task stays blocked in
ulTaskNotifyTake(), consuming no CPU until notified. - When notified, it toggles the LED and prints the new state.
This is the preferred way to perform periodic actions in FreeRTOS — using timers and notifications instead of delays. It keeps your application responsive, power-efficient, and real-time safe.
Output of Timer + Task Notification Example
The gif below shows the output of the above code for Timer + Task Notification.

As you can see above, Every second, the timer triggers and sends a notification to the LED Task. The task wakes up immediately, toggles the LED, and then waits again for the next notification.
No delay functions are used — it’s purely event-driven, making it highly efficient.
Download ESP32 FreeRTOS Software Timers & Notifications Project Files
Complete ESP-IDF project with auto-reload timer LED blink example, xTaskNotify() inter-task signaling demo, and combined timer-triggers-task notification example. Free to download — support the work if it helped you.
Software Timers & Notifications: Frequently Asked Questions
Conclusion
Software timers and task notifications are the two FreeRTOS features most likely to replace code you are currently doing the hard way. If you have a task that does nothing but delay and then act, replace it with a software timer callback and free the task and its stack entirely. If you have a queue that only ever sends a single signal (no data), replace it with a task notification and save the queue overhead.
The key constraint with timer callbacks: they run in the context of the timer daemon task. Keep callbacks short — no blocking calls, no long computation. Do the heavy work in a task and use the callback only to send the notification that triggers it.
In Part 6 we cover task control — suspending, resuming, and deleting tasks at runtime — the tools for managing task lifecycle in long-running applications.
Browse More ESP32 FreeRTOS Tutorials
FreeRTOS ESP32 Scheduler: Task States & Context Switching
ESP32 FreeRTOS Task Priority & Stack Size: Full Guide
ESP32 FreeRTOS Queues, Semaphores, Mutexes & Event Groups
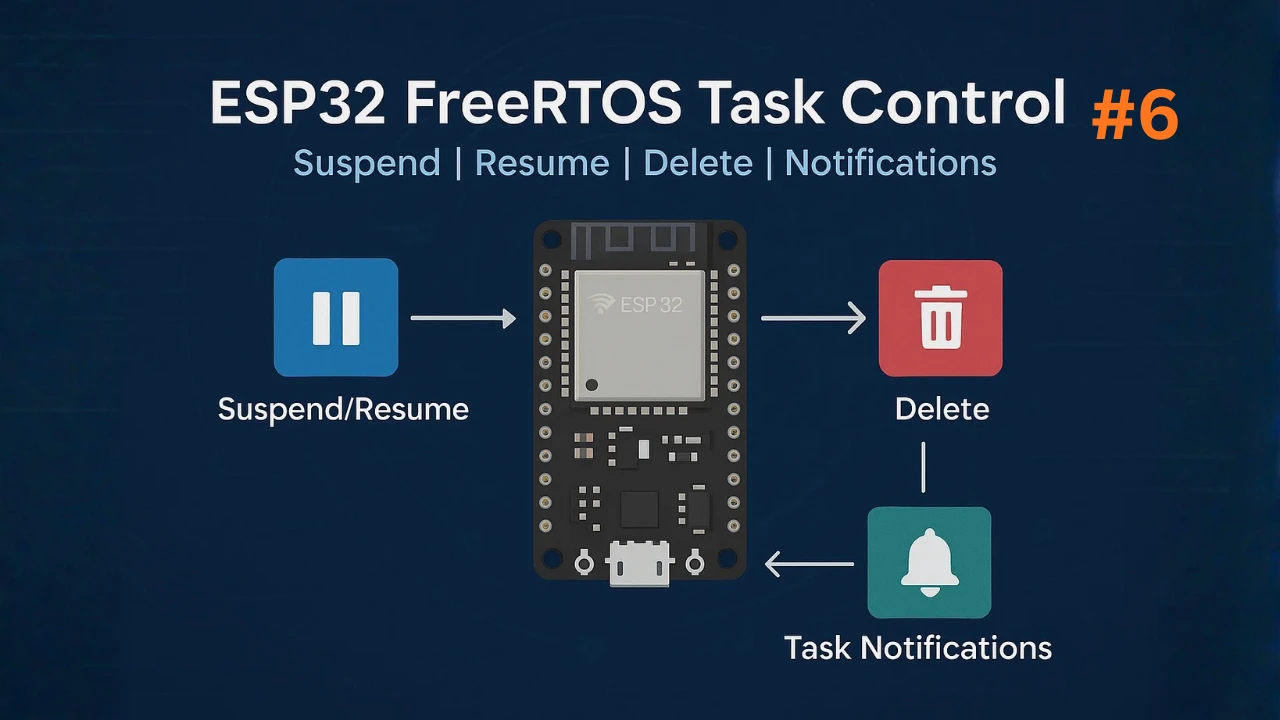
ESP32 FreeRTOS: Suspend, Resume & Delete Tasks (ESP-IDF)
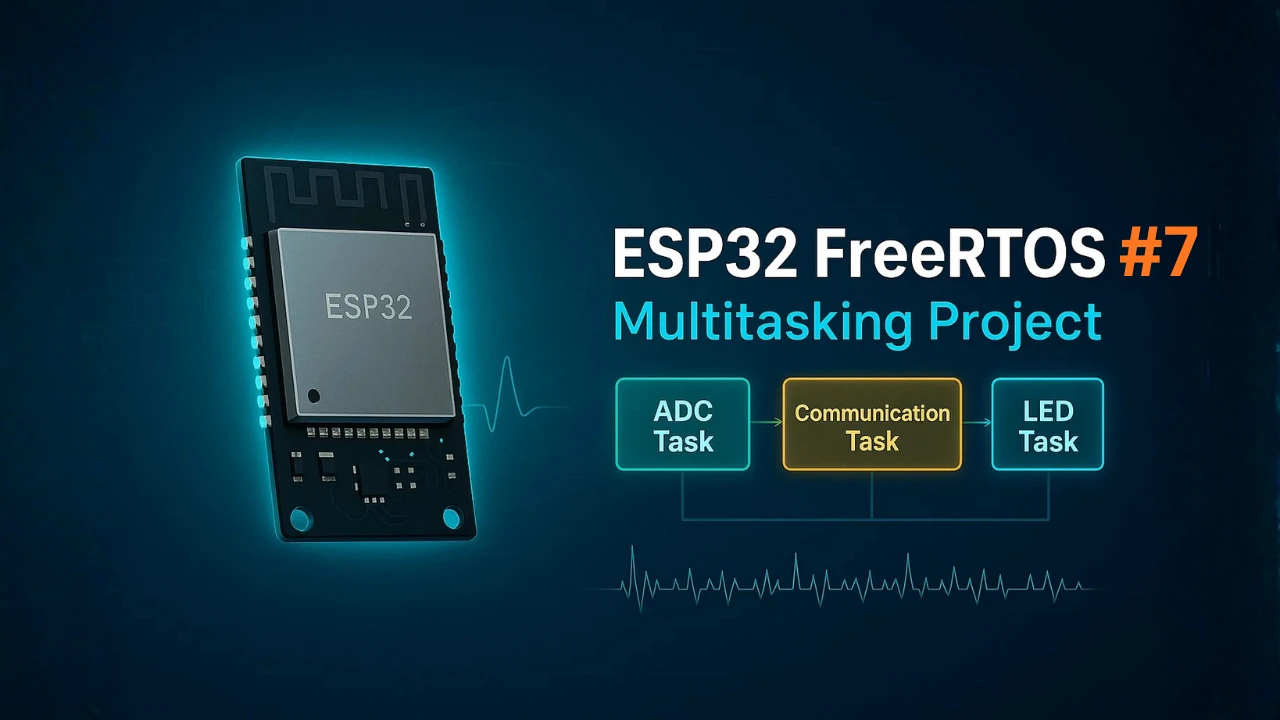
ESP32 FreeRTOS Multitasking Project: ADC, UART & LED Tasks

Subscribe
Login
0 Comments
Newest
