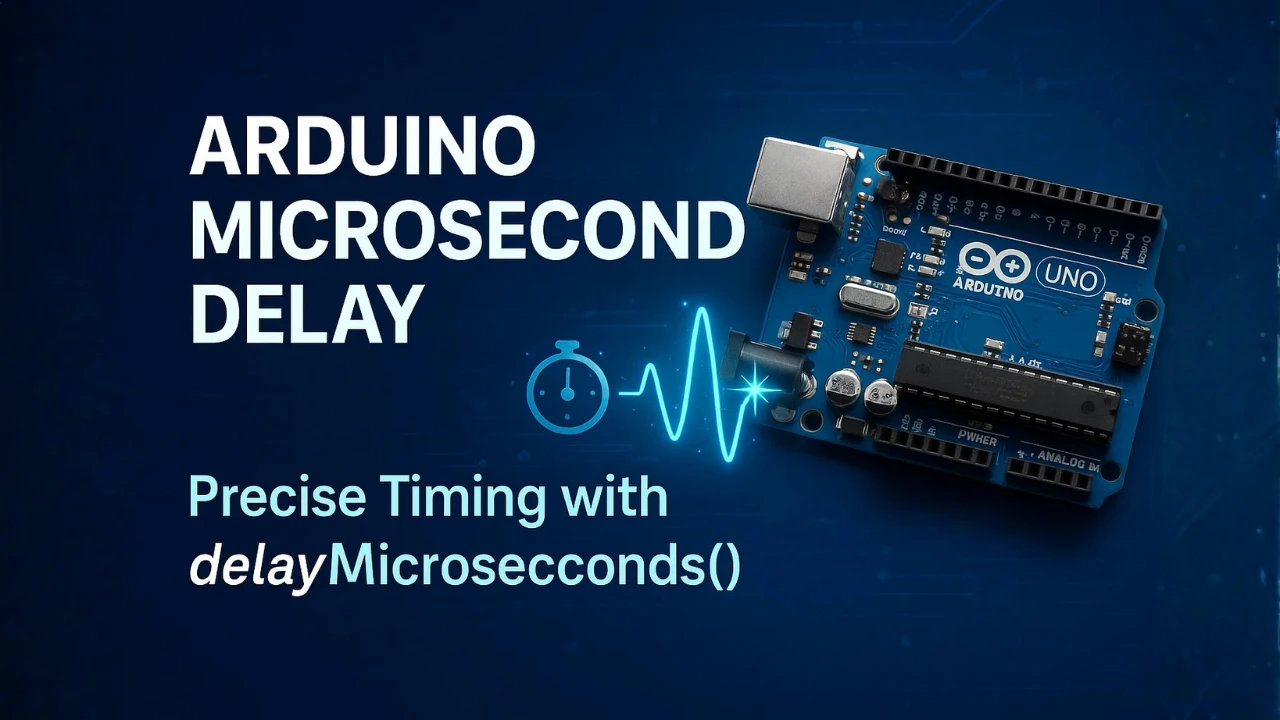
How to Use Arduino delayMicroseconds() Function with Precision
If you’re working with Arduino and need very short, microsecond-level delays, this guide is for you. We’ll dive into the built-in delayMicroseconds() function: how it works, how to use it, how accurate it really is, and when it’s the right tool (or when it isn’t). You’ll get clear code examples, simple language, and practical tips so you can use this function with confidence in your project.
Why Use delayMicroseconds() in Arduino Projects?
Precise timing is one of the key requirements in many Arduino projects. While functions like delay() are useful for creating millisecond delays, they simply aren’t accurate enough when your project needs microsecond-level control. That’s where the delayMicroseconds() function comes in — it lets you pause your program for a very short and precise duration, measured in microseconds (µs).
Let’s understand why this level of precision matters and where it’s most useful in Arduino applications.
The Need for Microsecond-Level Timing
Some components and communication protocols require signals that last only a few microseconds. For example, when generating PWM signals, sending ultrasonic pulses, or triggering sensors, even a small timing error can cause inaccurate readings or unstable operation.
In such cases, delays in the range of 1 to 1000 microseconds are critical — and the regular delay() function, which only handles milliseconds, simply cannot achieve that level of precision.
Using delayMicroseconds() ensures your Arduino can handle tasks that demand exact timing, such as toggling digital pins or synchronizing with fast sensors.
When delay() Is Too Slow or Coarse
The standard delay() function halts the program for at least one millisecond. While this is fine for blinking LEDs or waiting between serial prints, it’s far too long for tasks that depend on microsecond-scale precision.
For instance, imagine you’re working on:
- Sending a short pulse to trigger an ultrasonic distance sensor.
- Creating a fast square wave for a custom communication protocol.
- Measuring pulse widths or signal timing using interrupts.
In these cases, even a 1 millisecond delay (1000 microseconds) is too long. You need a way to pause your code for just a few microseconds — that’s exactly what delayMicroseconds() provides.
Common Use Cases: Pulses, Sensors, and Timing Tweaks
The delayMicroseconds() function is often used in projects where timing accuracy directly affects performance. Some common examples include:
- Ultrasonic sensors – to send and receive sound pulses with precise timing.
- IR communication – to modulate signals at microsecond intervals.
- Custom protocols – for bit-banging data signals manually.
- Motor control – for generating accurate step pulses for stepper motors.
- Signal generation and measurement – to fine-tune digital outputs for testing or synchronization.
delayMicroseconds() gives you tight control over timing, allowing your Arduino to interact reliably with high-speed peripherals or timing-sensitive circuits.
Understanding the delayMicroseconds() Function
The delayMicroseconds() function is a built-in Arduino timing function that pauses the execution of your program for a specific number of microseconds. Unlike delay(), which works in milliseconds, this function operates at a much finer scale — making it ideal for short, precise delays.
Let’s explore how it works, how to use it properly, and what limitations you should keep in mind.
Syntax and Parameters Explained
The syntax for the function is very straightforward:
delayMicroseconds(time);Parameter:
- @
time– The number of microseconds to delay (an unsigned integer).
For example:
delayMicroseconds(10);This will pause the program for 10 microseconds.
It’s important to remember that delayMicroseconds() is a blocking function. This means the processor stops executing any other code while the delay is active. So, during those microseconds, your Arduino won’t handle interrupts or perform other tasks.
You can use this function inside loops, timing-sensitive code, or alongside digital pin operations like digitalWrite() or digitalRead().
What the Function Actually Does in the Background
Under the hood, delayMicroseconds() uses processor cycles to create very short pauses. The Arduino core library calculates how many clock cycles are needed for the given delay value and then loops that number of times to achieve the desired duration.
For example, on a 16 MHz Arduino board (like the Uno or Nano), one clock cycle equals 62.5 nanoseconds. The function counts enough cycles to reach the requested delay in microseconds.
This method is simple and accurate for small delays. However, because it relies on loop counting and the processor’s clock speed, the exact delay might vary slightly across different boards or clock frequencies.
The function doesn’t use hardware timers or interrupts. It’s a busy-wait loop, meaning the CPU is just looping for the required time instead of doing other work.
Allowed Ranges, Limitations, and What to Watch Out For
The delayMicroseconds() function works reliably within certain limits, but there are a few things you should know:
- Minimum delay: Typically around 3 microseconds. Very small delays (like 1 or 2 µs) may not be accurate because of instruction overhead.
- Maximum delay: Depends on the board’s clock speed. On most 16 MHz boards, delays longer than about 16,383 microseconds (16.38 ms) may not work correctly due to internal calculations.
- Accuracy: The delay is approximate and may vary slightly because of instruction execution time or compiler optimizations.
- Interrupts: If interrupts are enabled during the delay, they can introduce extra microseconds of error.
To ensure consistent results:
- Use it only for short delays (less than 1–2 milliseconds).
- Disable interrupts if timing accuracy is critical.
- Avoid using it in long loops where non-blocking code (like
millis()or timers) would be more efficient.
Overall, delayMicroseconds() gives you precise short-term control over timing, but it’s not meant for long waits or multitasking applications. It’s best used for fine-tuning fast signals, sensor pulses, or timing-critical logic.
Practical Example: delayMicroseconds() in Action
Now that you understand what the delayMicroseconds() function does, let’s look at a real Arduino example to see it in action. In this example, we’ll generate a short pulse on a digital output pin — something you might do when controlling sensors, triggering circuits, or testing signal response times.
This example demonstrates how even tiny delays in the microsecond range can make a big difference in the timing and shape of a digital signal.
Code Listing: Short Pulse Generation
Here’s a simple Arduino sketch that generates a 10-microsecond pulse on digital pin 8:
int pulsePin = 8;  // Pin used for pulse output

void setup() {
  pinMode(pulsePin, OUTPUT);  // Set pin 8 as output
}

void loop() {
  digitalWrite(pulsePin, HIGH);     // Set pin HIGH
  delayMicroseconds(10);            // Wait for 10 microseconds
  digitalWrite(pulsePin, LOW);      // Set pin LOW
  delay(1000);                      // Wait 1 second before next pulse
}This code continuously sends a short high pulse of 10 microseconds every second. You can connect an oscilloscope or a logic analyzer to this pin to visualize the output.
Step-by-Step Code Walkthrough
Let’s break down how this code works:
- Define the pulse pin:
The variablepulsePinis assigned to pin 8, which will output the pulse. - Configure the pin mode:
In thesetup()function, we set this pin as anOUTPUTso that we can send voltage signals from it. - Generate the pulse:
Inside theloop(), we usedigitalWrite(pulsePin, HIGH)to set the pin HIGH (5V on most Arduino boards). - Add a precise microsecond delay:
delayMicroseconds(10)holds the signal high for exactly 10 microseconds — that’s 0.00001 seconds. - Bring the signal low again:
After the delay,digitalWrite(pulsePin, LOW)pulls the signal back to 0V, ending the pulse. - Pause before repeating:
Adelay(1000)(1 second) ensures that we can easily observe each pulse on an oscilloscope.
This pattern repeats endlessly, giving a consistent short pulse every second.
What the Output Looks Like (Oscilloscope/Simulation Insight)
If you observe this output on an oscilloscope or a logic analyzer, you’ll see a clean square pulse. The waveform will look like this:
The image above displays the output captured on a logic analyzer. It shows a series of short pulses occurring every 1 second, indicating that pin 8 stays LOW most of the time and only goes HIGH for a brief moment.
Zooming in on one of these pulses reveals the exact duration for which the pin remained HIGH.
- The voltage rises instantly from 0V to 5V when the pin goes HIGH.
- It stays high for approximately 10 microseconds — this duration is controlled precisely by the
delayMicroseconds()function. - Then, the voltage drops back to 0V and remains low for 1 second until the next cycle.
Note: Although the code requests a 10 µs delay (delayMicroseconds(10)), the actual pulse width becomes around 12–13 µs due to:
digitalWrite()overhead – Each call takes a few microseconds because it’s a high-level function that handles pin lookups and safety checks.- Instruction execution time – Setting and clearing the pin, plus the loop timing, adds a small but measurable delay.
If you need a precise 10 µs pulse, you can use direct port manipulation or hardware timers instead of digitalWrite().
You can adjust the value inside delayMicroseconds() to make the pulse wider or narrower. For example:
delayMicroseconds(5)→ 5 µs pulse width.delayMicroseconds(100)→ 100 µs pulse width.
This simple test demonstrates how powerful and predictable the function is for short timing operations. When working with sensors, communication protocols, or waveform generation, this type of precise control is essential.
Accuracy and Limitations of delayMicroseconds()
While delayMicroseconds() is very handy for creating short, precise delays, it’s important to understand that it’s not 100% accurate in every situation. The actual delay time can vary slightly depending on your Arduino board, clock speed, and what else is happening in your program.
Let’s explore how accurate it really is, what factors affect its performance, and when you might want to consider other timing methods.
Measuring Real-World Accuracy on Arduino Boards
In theory, delayMicroseconds(10) should pause your program for exactly 10 microseconds. But in practice, the real delay might differ by a few microseconds. This small variation happens because each Arduino board runs at a specific clock frequency, and each function call includes a bit of overhead time.
Here’s a quick overview of how accuracy differs between boards:
- Arduino Uno / Nano (16 MHz): Highly accurate for delays above ~3 µs. Below that, results may be inconsistent due to instruction timing limits.
- Arduino Mega (16 MHz): Similar to Uno, but can drift slightly when running many background processes.
- Arduino Due or ESP32 (higher clock speeds): Generally more accurate for very short delays, but timing can vary if the CPU dynamically scales its frequency.
To check accuracy, you can connect the output pin (like in the previous pulse example) to an oscilloscope and measure the pulse width. You’ll usually find that the timing error is within a few microseconds — acceptable for most applications.
What Causes Timing Fluctuations and Inconsistencies
Several factors can cause tiny fluctuations in the delay period. Here are the most common ones:
- Instruction overhead:
Each time you calldelayMicroseconds(), the function takes a few processor cycles just to start and stop. This adds a small but noticeable delay for very short intervals. - Interrupts:
Arduino boards handle background tasks like timers and serial communication using interrupts. If an interrupt occurs during adelayMicroseconds()call, it can extend the delay slightly. - Compiler optimization:
Depending on how your code is compiled, the timing loop insidedelayMicroseconds()may be optimized differently, causing microsecond-level variation. - Clock frequency differences:
Not all boards run at the same exact frequency — even small variations in the crystal oscillator can affect timing accuracy.
In short, while delayMicroseconds() is very consistent, it’s still a software-based delay, not a true hardware-timed delay.
When You Should Avoid Using delayMicroseconds() and What Alternatives Exist
Even though delayMicroseconds() is great for short, precise pauses, there are cases where it’s not the right choice.
Avoid using it when:
- You need longer delays (more than a few milliseconds).
- Your program needs to perform other tasks simultaneously.
- Timing accuracy is critical (such as high-speed communication or waveform generation).
In these cases, consider these alternatives:
delay()function – For delays in milliseconds where microsecond accuracy isn’t needed.millis()andmicros()functions – For non-blocking delays that allow your code to keep running while tracking elapsed time.- Hardware timers – For extremely precise timing, such as PWM generation or frequency measurement, use hardware timers available on most microcontrollers.
- Interrupt-driven events – For real-time applications, use interrupts to trigger actions instead of relying on delay loops.
By choosing the right method, you can make your Arduino projects more efficient, responsive, and power-optimized — while still keeping control over timing when you need it.
Conclusion
The delayMicroseconds() function is a simple yet powerful way to achieve precise, short delays in Arduino projects. It’s especially useful for generating pulses, triggering sensors, or handling fast communication signals, giving you microsecond-level control over timing. However, it’s important to use it carefully, as it blocks the CPU while running and can affect other tasks.
Key points to remember: delayMicroseconds() is ideal for delays from a few microseconds up to a few milliseconds, unlike delay(), which works in milliseconds only. Its accuracy can be influenced by interrupts, instruction overhead, or clock speed, and it’s best combined with micros() or millis() for longer-term timing. For very precise or multitasking applications, consider using hardware timers instead.
Browse More Arduino Tutorials
Arduino UART Tutorial: Step-by-Step Guide to Serial Communication
Arduino ADC and analogRead() Explained – Read Analog Voltage Easily
Complete Arduino I2C Tutorial with Examples: Wire Library & Projects
Arduino PWM and analogWrite() Explained: A Complete Beginner’s Guide
Arduino External Interrupts Guide: How to Use INT0 & INT1 Pins for Responsive Projects
How to Interface I2C LCD1602 Display with Arduino (With Custom Characters)
Arduino SSD1306 OLED 0.96″ Display Guide – Show Text, Numbers & Custom Animations
Arduino Microseconds Delay FAQs
delayMicroseconds() used for?It creates short, precise delays in microseconds for tasks like generating pulses or timing signals.
delay()?delay() works in milliseconds, while delayMicroseconds() works in microseconds for much finer control.
delayMicroseconds()?No, it’s a blocking function, so the Arduino cannot execute other tasks during the delay.
Typically 3–4 µs, depending on your board’s clock speed and instruction overhead.
Use hardware timers or disable interrupts for very short, critical delays.


