Interface LCD1602 via I2C
This is the 7th tutorial in the AVR series using the xplained mini development board, and today we will continue with the I2C Master series. In this series, we will developing the code for the I2c master across few tutorials, covering the Write and Read operations to the slave device.
We have already covered how to configure and initialize the I2C, and how to write the data to the PCF8574 slave device in the previous tutorial. In today’s tutorial, we will see how to interface the LCD1602 via the I2C.
The LCD1602 is connected with the PCF8574 module, which is then connected to the MCU via the SCL and SDA lines. They mostly comes presoldered to the back of the LCD display and therefore reduces the pin requirement for the LCD from 16 to just 2.
VIDEO TUTORIAL
You can check the video to see the complete explanation and working of this project.
Connection
Below is the image showing the connection between the LCD, PCF8574 and the MCU.
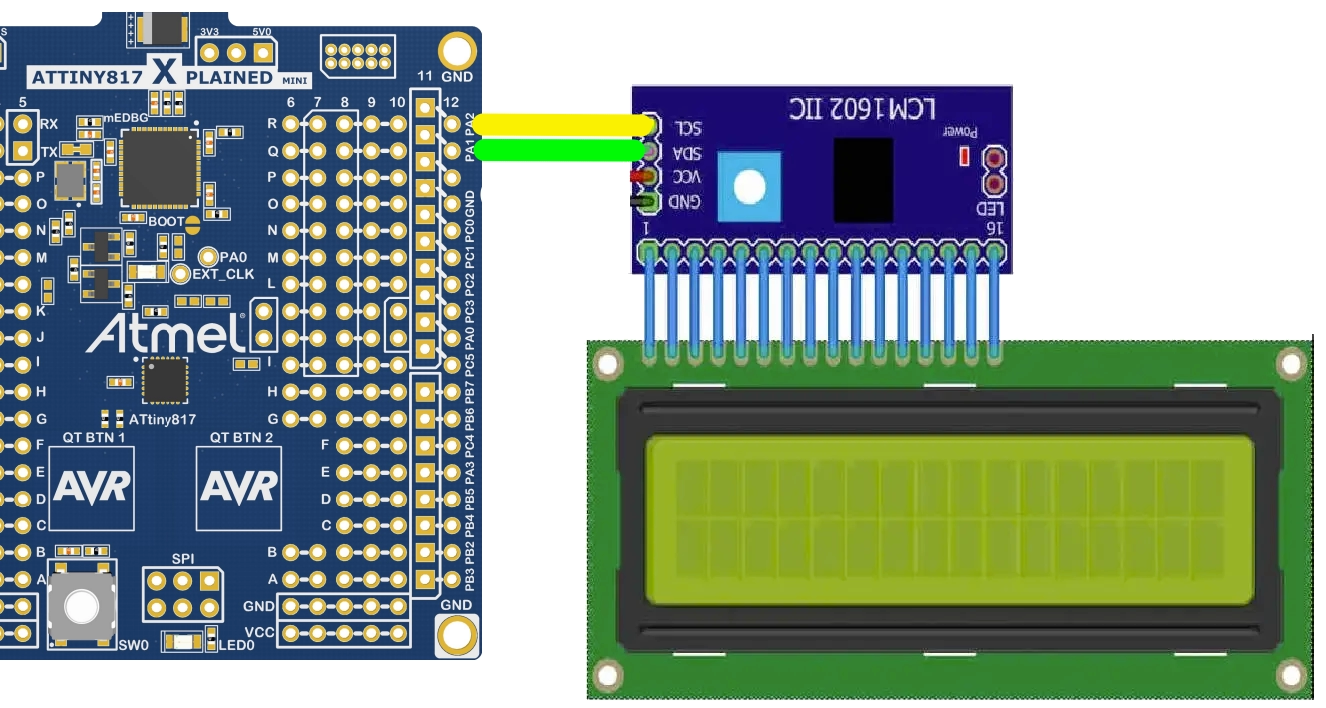
As shown above the 16 pins from the module connects to the 16 pins of the LCD. The module is connected to the MCU using the Data (SDA) and the Clock (SCL) lines. It is powered by the 5V from the MCU board itself.
Including Libraries
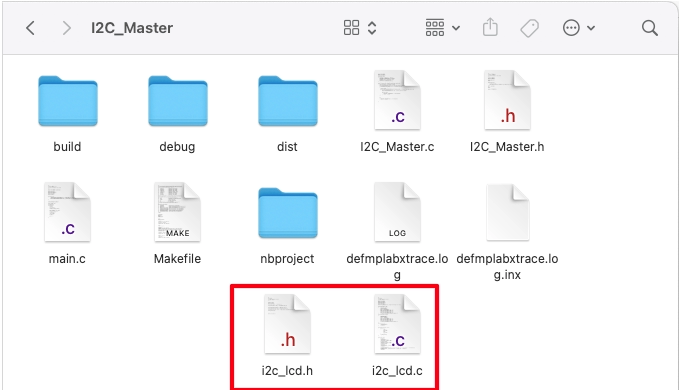
I have written the library for the I2C LCD. We need to copy the library files to our project folder.
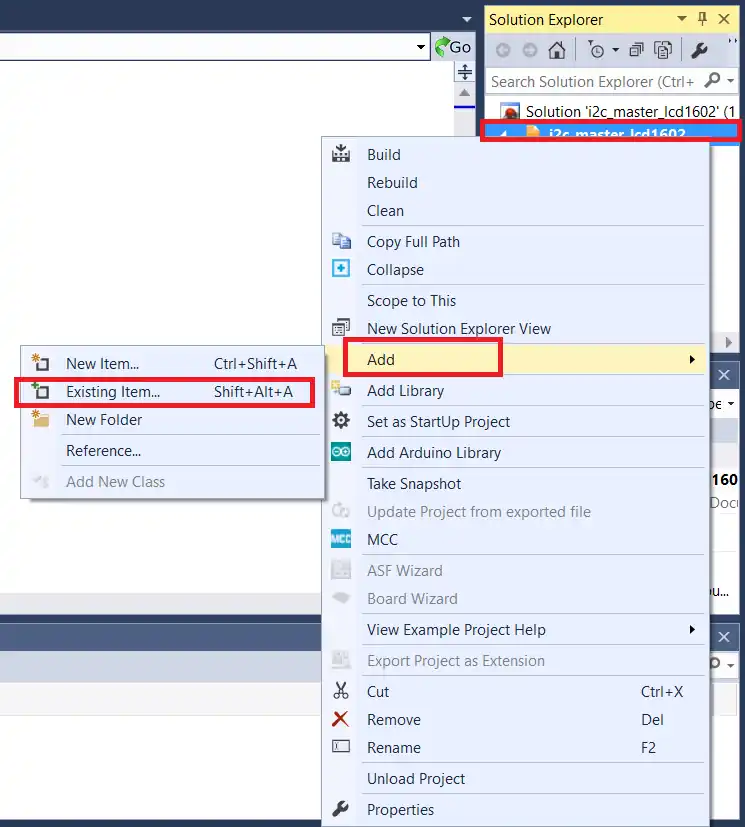
Now include the libraries in the project. Right click on the Project Name, Add -> Existing Item.
Now select both library files and add them. The final project structure is shown below.

Use the LCD Library
The library have only few functions. They are shown below. The purpose of each function is in the comment section.
void lcd_init (void);   // initialize lcd
void lcd_send_cmd (char cmd);  // send command to the lcd
void lcd_send_data (char data);  // send data to the lcd
void lcd_send_string (char *str);  // send string to the lcd
void lcd_put_cur(int row, int col);  // put cursor at the entered position -> row (0 or 1), col (0-15);
void lcd_clear (void); // Clear the entire screenSending string
Below is the main function code to send the string to the LCD.
char datatosend[] = "from C.Tech";
int main(void)
{
	clkInit();
	lcd_init();
	lcd_put_cur(0,0);  // put the cursor at 0 row, 0 col
	lcd_send_string("Hello world");  // send the string
	lcd_put_cur(1,0);  // put the cursor at 1 row, 0 col
	lcd_send_string(datatosend);  // send the string
	while(1){	}
}After initializing the clock, we will initialize the LCD. The I2C will be initialized in the lcd_init() function itself.
- We first set the cursor at the beginning of the Top row and send the string to that position.
- Then set the cursor at the beginning for the bottom row and send another string.
We can send the string by passing the string directly as the parameter of the function or by pointing to the array which holds the string. The two different ways of sending the string are shown in the code above.
Below is the output on the LCD as a result of the code above.
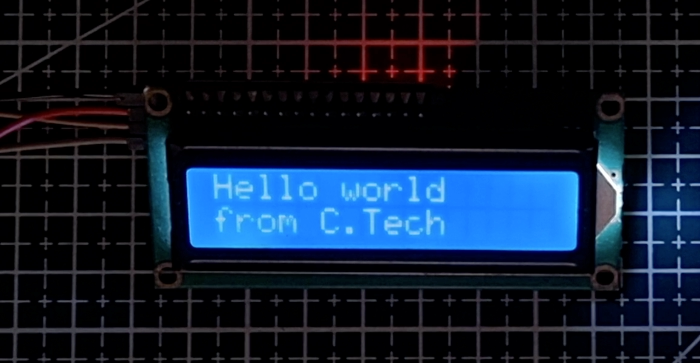
You can see in the image above, the strings are displaying as we programmed them.
Sending numbers
We can’t display the numbers directly on the LCD, so we need to first convert them to their character format and then display it on the LCD. The function sprintf can be used for the same.
uint16_t number = 1234;
char numarray[5];
int main(void)
{
	clkInit();
	lcd_init();
	lcd_put_cur(0,0);
	lcd_send_string("Hello world");

	sprintf (numarray, "%u", number);
	lcd_put_cur(1,0);
	lcd_send_string(numarray);
	while(1){}
}I have defined the number variable which contains the value 1234. The numarray is a character array where the number will be stored in the character format. Each digit of the number will occupy 1 byte in the character form.
The function sprintf will convert the number to its character format and store it in the numarray. The format specifier (%u) is used as per the value to be converted and for the unsigned integer values, we use the specifier %u.
After converting the number, we set the cursor to the beginning of the bottom row and send the numarray to this position.
Below is the image showing the output of the above code on the LCD.
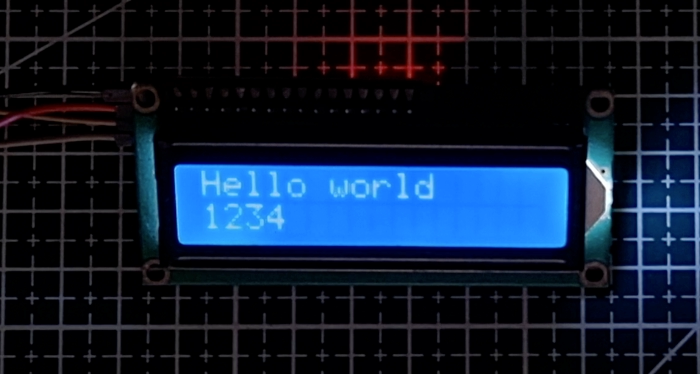
As you can see above, the number gets printed on the bottom row of the LCD.

