Published: December 27, 2025
Last Updated: February 5, 2026
Last Updated: February 5, 2026
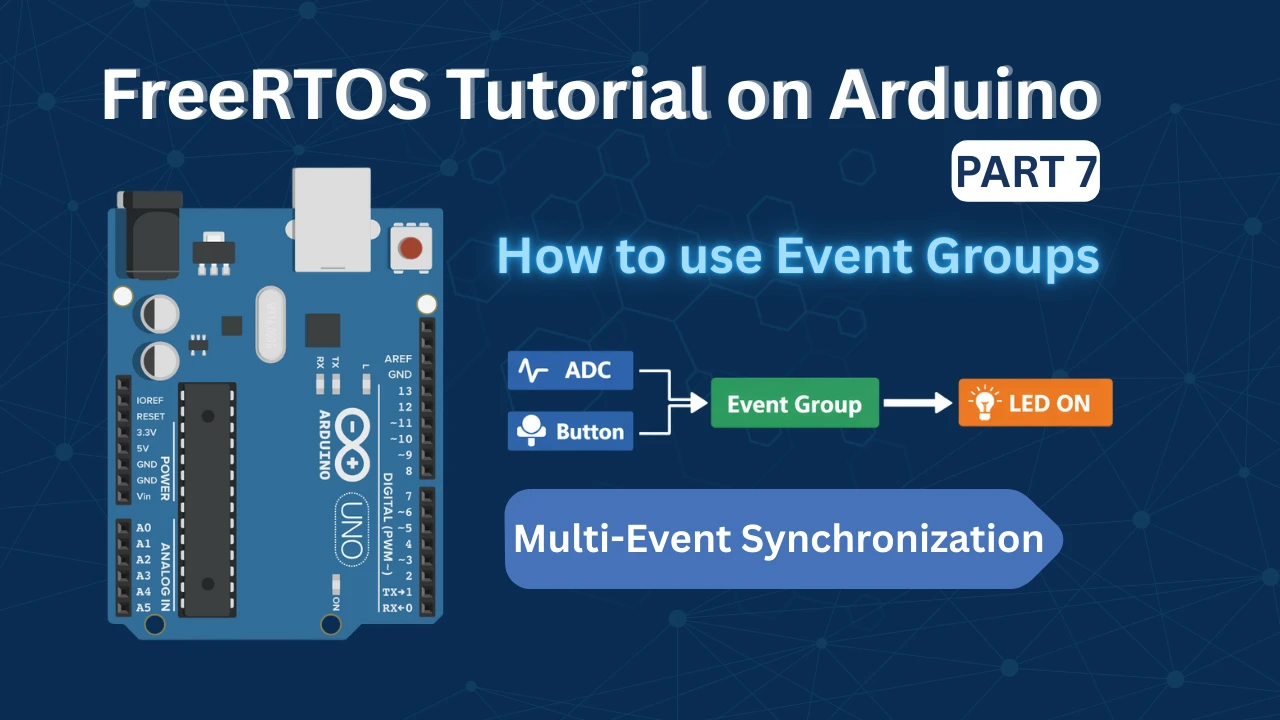
FreeRTOS Event Groups Explained | Multi-Event Synchronization
FreeRTOS applications rarely deal with just a single event at a time. In many systems, a button press by itself may not be enough, and sensor data alone may not be reliable either. Real embedded applications often require multiple conditions to be satisfied before an action can take place. For example, a task may need to wait for both user input and valid sensor data before continuing. This is where FreeRTOS Event Groups become an important and effective tool.
Event Groups allow different tasks and interrupts to signal events using individual bits, and tasks can wait for one or more of these events at the same time. This makes them especially useful when several signals must be combined to control program flow. Instead of using complex logic or multiple synchronization objects, Event Groups provide a clean and structured way to handle such cases.
In this tutorial, we will explore how Event Groups work in FreeRTOS and how they can be used for multi-event synchronization. We will go through the core concepts, understand when Event Groups should be used, and see how they help manage real-world conditions where multiple events must occur together.
What Are Event Groups in FreeRTOS?
Event Groups are a powerful synchronization feature in FreeRTOS. They allow a task to wait for one or more events at the same time. Instead of reacting to a single signal, a task can respond only when the required conditions are met. This makes Event Groups very useful in complex FreeRTOS applications where multiple tasks, interrupts, or peripherals work together.
Event Group Basics in FreeRTOS
An Event Group is a set of binary flags called event bits. Each bit represents a specific event or condition. Tasks and ISRs can set these bits when something important happens. Other tasks can then wait for one or more of these bits to become set. Event Groups are created using the FreeRTOS API and stored in RAM, just like semaphores and queues.
Why Event Groups Exist
Event Groups exist to solve a common problem in embedded systems. Many actions depend on more than one event. For example, data must be ready and a user must press a button. Using multiple semaphores for this quickly becomes messy. The Event Groups provide a clean and efficient way to synchronize multiple events with a single object, improving code readability and system design.
Event Bits Explained
Event bits are individual bits inside an Event Group variable. Each bit represents one event. When an event occurs, the corresponding bit is set to 1. A task can wait for any one bit or all required bits to be set. Once the condition is met, the task continues execution. Event bits can also be cleared automatically or manually, depending on how the wait function is configured.
When to Use FreeRTOS Event Groups
Event Groups should be used when your FreeRTOS application needs to respond to more than one event at the same time.

In many systems, a task cannot proceed based on a single signal alone. Event Groups help you design clean, organized, and predictable task behavior by allowing multiple conditions to be checked together. Instead of spreading logic across several flags, semaphores, or global variables, Event Groups bring all related synchronization into one central mechanism, making the code easier to read and maintain.
Synchronizing Multiple Conditions
Event Groups are especially useful when multiple conditions must be satisfied before an action can take place. For example, a task may require valid sensor data as well as a user input before continuing its operation. With Event Groups, each condition sets its own event bit. The task can then wait until all required bits are set. This ensures the system moves forward only when everything is ready, preventing partial or unsafe execution.
Signalling from Multiple Tasks
Event Groups work well when different tasks are responsible for signaling different events. One task may set an event bit when ADC data becomes available. Another task may set a different bit when a button is pressed. A third task can wait for these event bits together and take action only when the required combination of events occurs. This approach keeps tasks independent, reduces tight coupling, and improves overall system design.
Event Groups vs Semaphores vs Queues
Semaphores are typically used for simple signalling or for protecting shared resources. Queues are designed to transfer data between tasks. Event Groups serve a different purpose. They are meant for state-based synchronization, where tasks wait for one or more conditions rather than for data or resource access. When your application logic depends on multiple events occurring together, Event Groups usually provide a cleaner and more suitable solution.
| Feature | Semaphores | Queues | Event Groups |
|---|---|---|---|
| Primary purpose | Signaling or resource protection | Passing data between tasks | Synchronizing multiple conditions |
| Data transfer | No | Yes | No |
| Typical use case | Task notification, mutex locking | Sending messages or sensor data | Waiting for one or more events |
| Handles multiple events | No | No | Yes |
| Best suited for | Simple signals or shared resources | Producer–consumer patterns | State-based logic and condition checks |
| When to use | When a task needs a single signal | When tasks need to exchange data | When actions depend on multiple events |
Waiting on Event Bits (ANY vs ALL)
Event Groups allow a task to pause execution until specific conditions are met. A task can be configured to resume when any one of the required events occurs, or only when all required events have occurred. This gives you precise control over when a task should run.
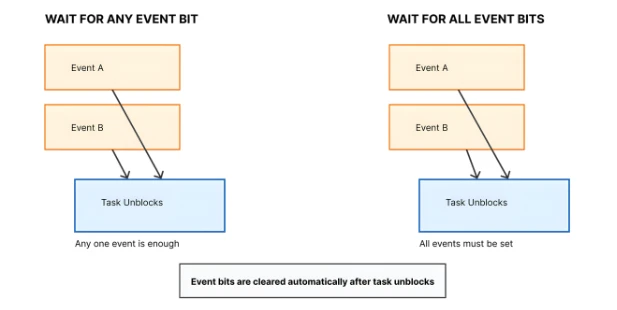
Choosing the correct wait condition helps ensure that tasks execute at the right time and only under valid system states.
Waiting for Any Event Bit
When waiting for any event bit, the task resumes execution as soon as one of the monitored events occurs. The remaining events are ignored for that cycle.
This approach is useful when multiple events can independently trigger the same action. For example, a task may proceed if either a user presses a button or a timeout expires. As soon as one condition is met, the task continues.
Waiting for All Event Bits
When waiting for all event bits, the task remains blocked until every required condition has been satisfied. Execution continues only after the complete set of events is present.
This method is commonly used when several checks must pass before an operation is allowed. For instance, a task might wait until sensor readings are valid and user input is received, ensuring the system proceeds in a controlled and safe manner.
| Aspect | Waiting for ANY Event Bit | Waiting for ALL Event Bits |
|---|---|---|
| When the task unblocks | As soon as one specified event bit is set | Only after all specified event bits are set |
| Required conditions | At least one condition must be true | Every required condition must be true |
| Task behavior | Task reacts to the first event that occurs | Task waits until the system is fully ready |
| Typical use case | Multiple events can trigger the same action | Multiple checks must pass before proceeding |
| Example | Button press or timeout wakes the task | Sensor ready and user input required |
| Safety level | Faster response, less strict conditions | More controlled and safer execution |
| Common applications | Error handling, wake-up signals, timeouts | System initialization, validation sequences |
Automatic Clearing of Event Bits
Event Groups support automatic clearing of event bits once a task unblocks. This prevents previously triggered events from affecting future task executions.
Automatic clearing is particularly helpful in repetitive processes, where the same conditions must occur again before the task runs another cycle.
Hands-On Example: FreeRTOS Event Groups with ADC and Button
Now let’s move from theory to a practical example. In this demo, we will use FreeRTOS Event Groups with Arduino to synchronize two independent events: an ADC reading and a button press. This example shows a very common real-world scenario where multiple conditions must be met before taking an action.
Problem Statement
The goal is simple. An LED should turn ON only when both of the following conditions are true:
- The ADC has completed reading the potentiometer
- The user has pressed a button
If only one of these events occurs, the LED should remain OFF. This makes Event Groups an ideal solution, since they are designed specifically for multi-condition synchronization.
Event Group Design
We will create one Event Group containing two event bits. Each bit represents a different condition:
- One task reads the ADC and signals when the reading is ready
- Another task monitors the button and signals when it is pressed
- A third task waits for both events and controls the LED
This design keeps each task focused on a single responsibility while allowing them to work together in a controlled way.
Event Bit Definitions
We define two event bits:
- BIT0 → ADC reading completed
- BIT1 → Button pressed
When both bits are set, the LED task unblocks and turns the LED ON.
Code Walkthrough: Using Event Groups in FreeRTOS
Let’s now look at how this logic is implemented in code. We will go step by step, focusing only on the parts related to Event Groups.
Creating the Event Group
First, we create the Event Group. This is usually done once, before the scheduler starts. The same Event Group handle will be shared across all tasks.
EventGroupHandle_t eventGroup;

void setup()
{
  eventGroup = xEventGroupCreate();
}ADC Task
The ADC task reads the potentiometer value. Once the reading is complete, it sets the ADC-ready event bit. This signals that valid sensor data is available.
void adcTask(void *pvParameters)
{
  while (1)
  {
    int adcValue = analogRead(A0);
    xEventGroupSetBits(eventGroup, BIT0);
    vTaskDelay(pdMS_TO_TICKS(500));
  }
}Button Task
The button task continuously checks the button state. When the button is pressed, it sets the corresponding event bit. This task operates independently of the ADC task.
void buttonTask(void *pvParameters)
{
  while (1)
  {
    if (digitalRead(2) == LOW)
    {
      xEventGroupSetBits(eventGroup, BIT1);
    }
    vTaskDelay(pdMS_TO_TICKS(50));
  }
}LED Control Task
The LED task waits for both event bits using the ALL condition. It remains blocked until the ADC reading is complete and the button has been pressed. Once both conditions are satisfied, the LED turns ON.
void ledTask(void *pvParameters)
{
  while (1)
  {
    xEventGroupWaitBits(
      eventGroup,
      BIT_ADC_READY | BIT_BUTTON_PRESSED,
      pdTRUE,   // Clear bits after exit
      pdTRUE,   // Wait for ALL bits
      portMAX_DELAY
    );

    digitalWrite(LED_PIN, HIGH);
    vTaskDelay(pdMS_TO_TICKS(500));
    Serial.println(adcValue);
    digitalWrite(LED_PIN, LOW);
  }
}Full Working Code: FreeRTOS Event Group Example
In this section, we combine everything into one complete example. This code shows how to use FreeRTOS Event Groups on Arduino to synchronize an ADC reading and a button press. The LED turns ON only when both events occur.
Complete Arduino + FreeRTOS Code
#include <Arduino_FreeRTOS.h>
#include <event_groups.h>
/* Pin definitions */
#define LED_PIN 13
#define BUTTON_PIN 2
#define POT_PIN A0
/* Event bit definitions */
#define BIT_ADC_READY (1 << 0)
#define BIT_BUTTON_PRESSED (1 << 1)
/* Event Group handle */
EventGroupHandle_t eventGroup;
/* Task prototypes */
void adcTask(void *pvParameters);
void buttonTask(void *pvParameters);
void ledTask(void *pvParameters);
int adcValue = 0;
void setup()
{
Serial.begin(9600);
pinMode(LED_PIN, OUTPUT);
pinMode(BUTTON_PIN, INPUT_PULLUP);
/* Create Event Group */
eventGroup = xEventGroupCreate();
/* Create tasks */
xTaskCreate(adcTask, "ADC Task", 128, NULL, 1, NULL);
xTaskCreate(buttonTask, "Button Task", 128, NULL, 1, NULL);
xTaskCreate(ledTask, "LED Task", 128, NULL, 1, NULL);
}
void loop()
{
/* Empty. FreeRTOS runs tasks */
}
/* ADC Task */
void adcTask(void *pvParameters)
{
while (1)
{
adcValue = analogRead(POT_PIN);
/* Signal ADC ready */
xEventGroupSetBits(eventGroup, BIT_ADC_READY);
vTaskDelay(pdMS_TO_TICKS(500));
}
}
/* Button Task */
void buttonTask(void *pvParameters)
{
while (1)
{
if (digitalRead(BUTTON_PIN) == LOW)
{
/* Signal button pressed */
xEventGroupSetBits(eventGroup, BIT_BUTTON_PRESSED);
/* Simple debounce delay */
vTaskDelay(pdMS_TO_TICKS(200));
}
vTaskDelay(pdMS_TO_TICKS(50));
}
}
/* LED Control Task */
void ledTask(void *pvParameters)
{
  while (1)
  {
    xEventGroupWaitBits(
      eventGroup,
      BIT_ADC_READY | BIT_BUTTON_PRESSED,
      pdTRUE,   // Clear bits after exit
      pdTRUE,   // Wait for ALL bits
      portMAX_DELAY
    );

    digitalWrite(LED_PIN, HIGH);
    vTaskDelay(pdMS_TO_TICKS(500));
    Serial.println(adcValue);
    digitalWrite(LED_PIN, LOW);
  }
}This complete example demonstrates multi-event synchronization using FreeRTOS Event Groups. The code is simple, readable, and suitable for AVR-based Arduino boards.
Demo Output: Event Group Behavior in Action
The gif below shows the system behaviour during execution.

- When the potentiometer is turned, the ADC task runs and sets the ADC ready event bit. At this stage, the LED remains OFF.
- When the button is pressed, the button task sets the button pressed event bit. Only when both events occur together does the LED turn ON.
- If either the potentiometer is turned or the button is pressed alone, the LED does not turn ON.
This confirms that the Event Group is correctly waiting for ALL required event bits before triggering the action.
Conclusion
FreeRTOS Event Groups provide a clean and reliable way to handle situations where more than one condition must be met before a task can run. Instead of managing multiple flags or complex logic, Event Groups allow tasks to wait for a specific combination of events in a structured and predictable manner. This makes them especially useful in real-time embedded systems where proper coordination is critical.
In this tutorial, we explored the fundamentals of Event Groups, including event bits, waiting for ANY versus ALL conditions, and the impact of memory usage on AVR-based boards. We also implemented a practical example where ADC completion and a button press were synchronized to control an LED. This example demonstrated how Event Groups simplify multi-event synchronization in real applications.
By using Event Groups, you can design systems that respond correctly only when all required conditions are met, improving reliability and code readability. In the next part of this series, we will take this further by handling events directly from interrupts, allowing tasks to react faster and making the system even more responsive.
Browse More Arduino FreeRTOS Tutorials
FreeRTOS on Arduino (Part 2): Task Scheduling on Arduino – Tasks, Priorities & Time Slicing
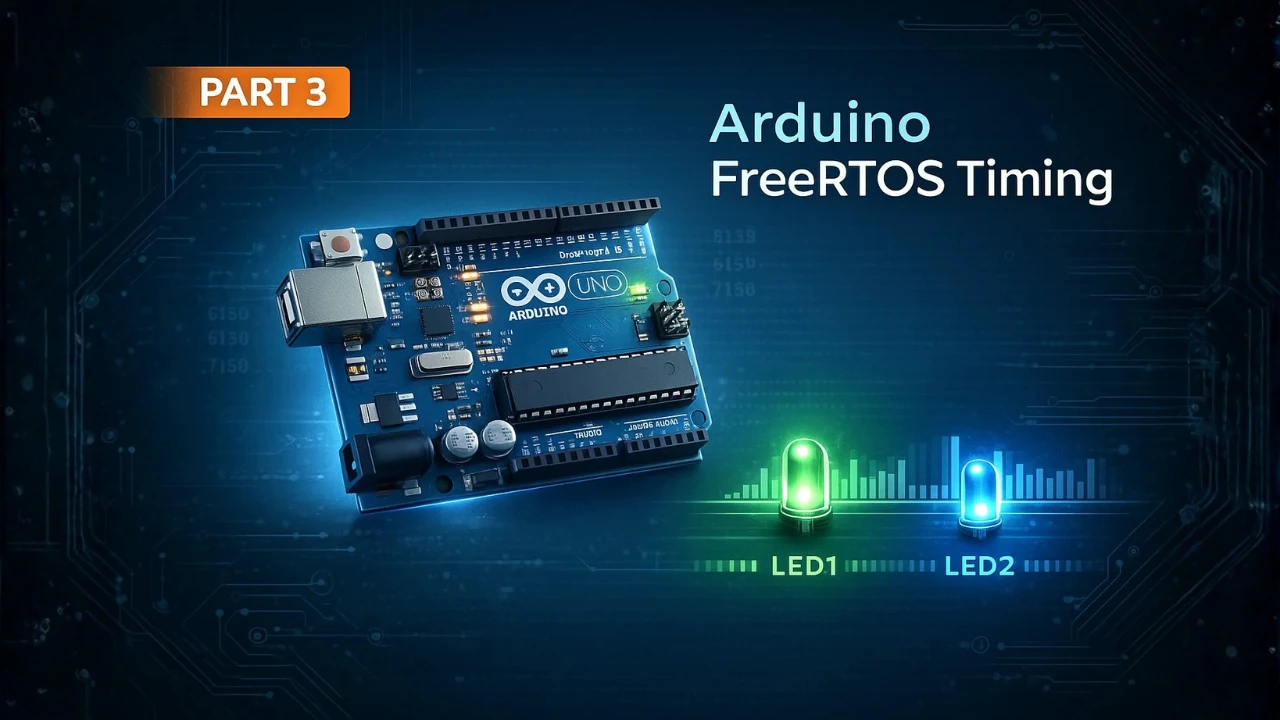
FreeRTOS on Arduino (Part 3): vTaskDelay vs vTaskDelayUntil and Software Timers
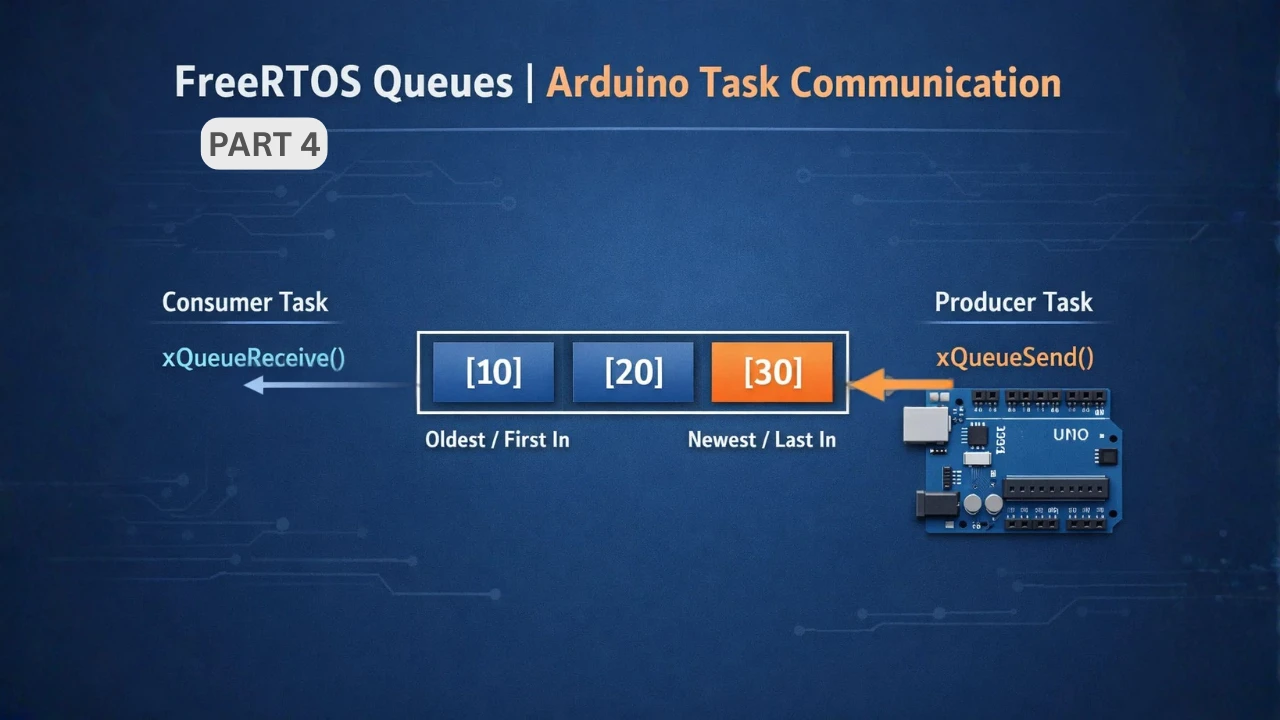
FreeRTOS on Arduino (Part 4): Inter Task Communication with Queues
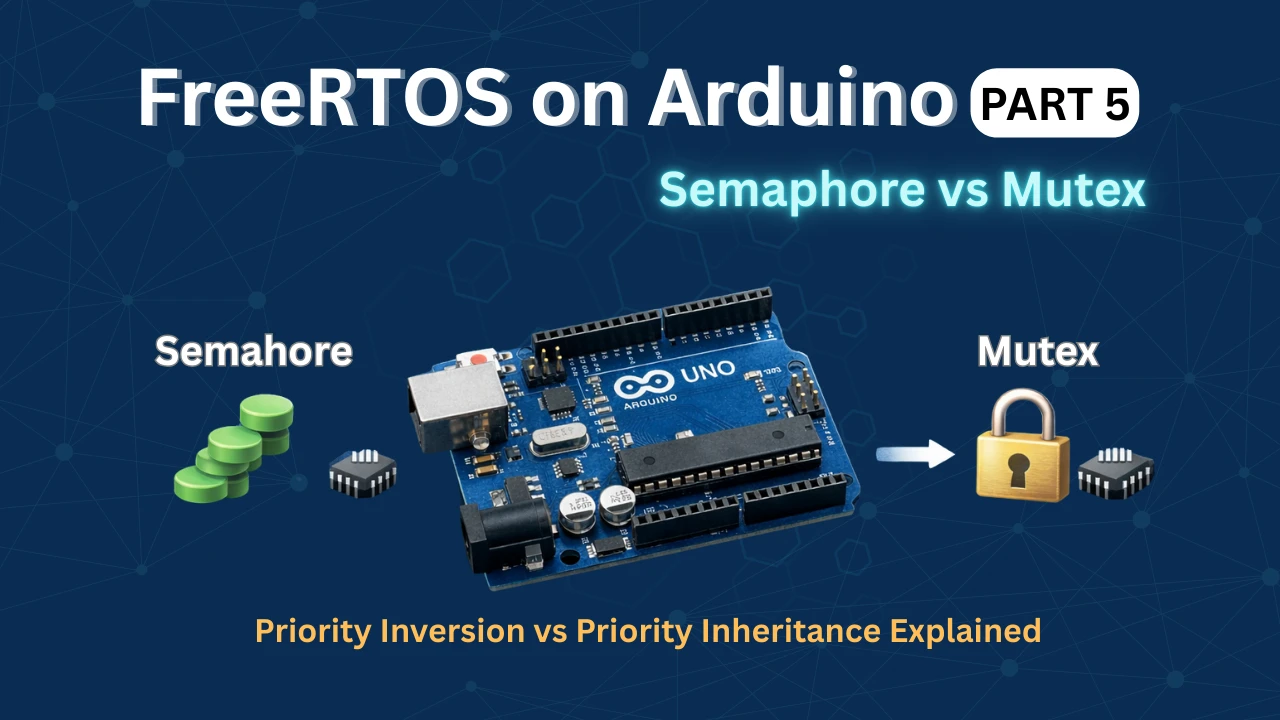
FreeRTOS on Arduino (Part 5): Semaphores and Mutex Explained with Practical Examples
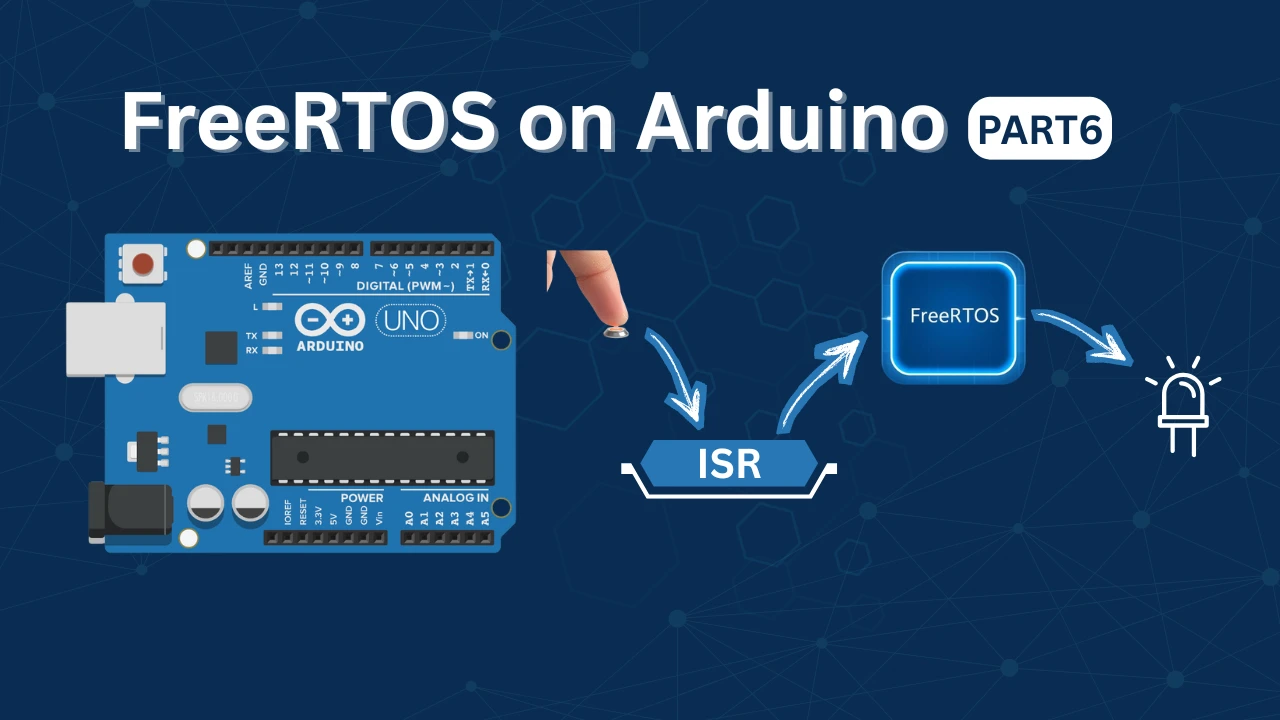
FreeRTOS on Arduino (Part 6): Using Interrupts in FreeRTOS
Arduino FreeRTOS Project Download
FAQs – FreeRTOS Events
Subscribe
Login
0 Comments
Newest
