Updated On: March 23, 2026
STM32 W5500 MQTT Client Tutorial: Publish, Subscribe and Control LED
In this tutorial, we will build a complete MQTT client using STM32 and the W5500 Ethernet module. MQTT is a very light messaging protocol, which makes it perfect for embedded devices and IoT projects. With the help of the W5500 module, we can connect the STM32 directly to the network and send or receive MQTT messages in real time.
In this project, we will learn how to publish, subscribe, and control hardware using MQTT. We will send messages to a broker, read incoming messages, and use them to control an LED on the STM32 board. We will also subscribe to more than one topic and print all incoming messages through the serial console.
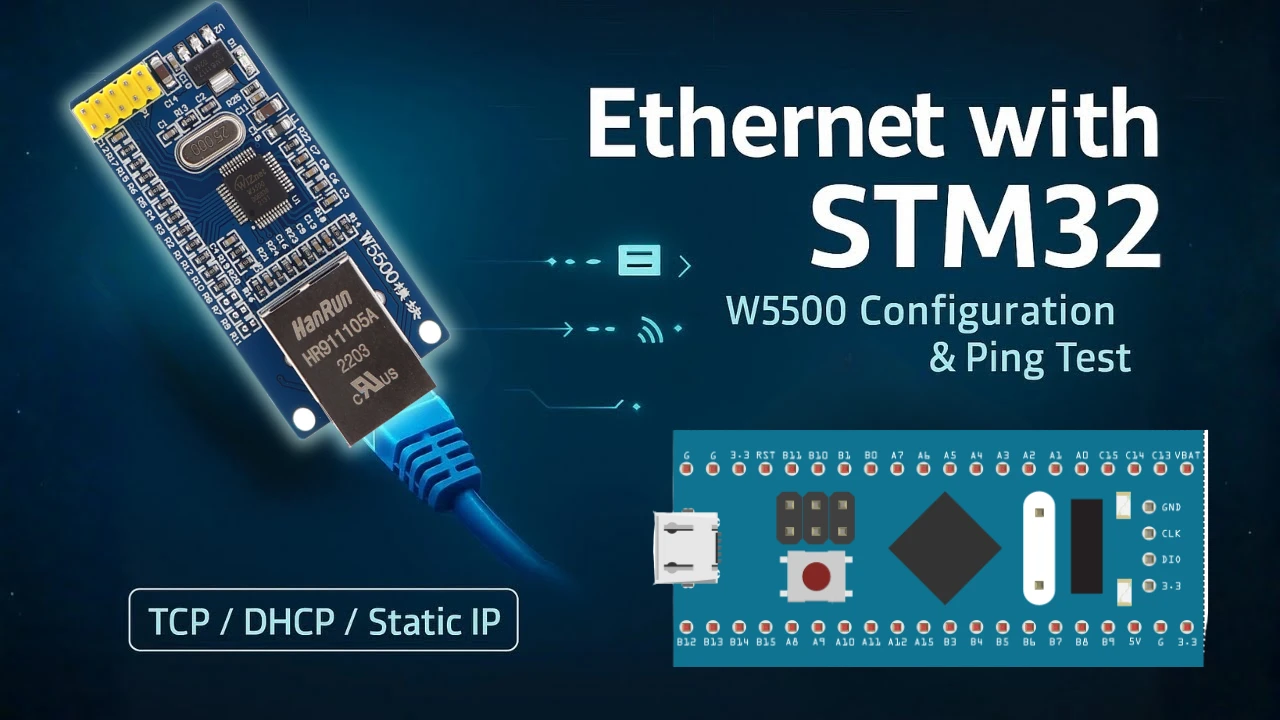
This tutorial is Part 7 in the STM32 Ethernet series using W5500. You do not need to know all the previous parts to continue with this one. Just make sure you have gone through the Part 1 of the series, where I covered configuration and basic ping test.
STM32 W5500 Ethernet Part 1: Configuration and Ping Test
Introduction to MQTT on STM32 with W5500
In this tutorial, we will learn how to use the STM32 with the W5500 Ethernet module to create a simple and reliable MQTT client. The setup allows the STM32 to connect to a network, talk to an MQTT broker, publish messages, and receive commands in real time. The goal is to keep everything easy to follow with clear steps, short code explanations, and simple tests.
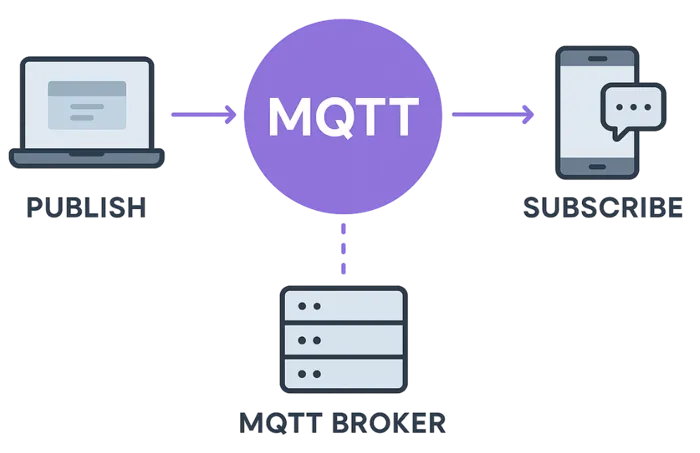
What is MQTT in Simple Words
MQTT is a light and fast messaging protocol used in IoT projects. Devices do not talk to each other directly. Instead, they send messages to a central server called a broker, and other devices subscribe to the topics they need.
It uses very little data, works well even on weak networks, and is easy to use on small microcontrollers like STM32.
MQTT uses a publish/subscribe system with three main parts:
- Publisher – The device or program that sends data.
Example: A temperature sensor publishing the current room temperature. - Subscriber – The device or program that wants to receive data.
Example: A mobile app that shows the temperature reading. - Broker – The middleman (server) that connects publishers and subscribers.
Example: An MQTT broker like Mosquitto, HiveMQ, or EMQX.
Why Use MQTT with STM32 and W5500
The STM32 is a powerful and flexible microcontroller that can handle many real-time tasks while still running at low cost and low power. It is widely used in embedded and IoT projects because it offers good performance, plenty of peripherals, and a stable development ecosystem.
The W5500 Ethernet module adds another important feature: a built-in hardware TCP/IP stack. This means the module takes care of complex network functions such as handling sockets, managing packets, and maintaining stable connections. As a result, the STM32 does not need to waste time on heavy network processing, and the overall system becomes more reliable and easier to develop.
When you combine the STM32 with the W5500, you get a powerful wired-network solution. You can send sensor readings to an MQTT broker, receive control commands instantly, update dashboards, log data, and even control home automation devices. This makes the setup ideal for building smart IoT systems that require stable Ethernet connectivity, low latency, and continuous real-time communication.
Project Features and Expected Output
In this project, we will build a complete MQTT client on STM32. The client will:
- Connect to an MQTT broker using a hostname or IP address
- Publish a message every 5 seconds
- Subscribe to one or more topics
- Receive MQTT messages in real time
- Control an LED using ON/OFF commands
- Print logs on the UART console for debugging
Adding the MQTT Library to STM32 Project
To use MQTT on the STM32, we must first add the required source files to our project. The W5500 IO library already includes the MQTT client implementation, so we only need to copy those files into our project folder. Once added, CubeIDE will recognize the new files and compile them along with the rest of the code. This setup makes it easy to work with MQTT functions like connect, subscribe, publish, and process incoming messages.
Copying MQTT Folder from IO Library
The Wiznet IO Library contains a complete MQTT solution inside the internet folder. To use it:
- Open the Wiznet IO library that you downloaded in Part 1 of this series.
- Go to the internet directory.
- Find the folder named MQTT.
- Copy this entire folder into your STM32 project.
- Place it inside the ethernet folder you created for W5500 files.
This MQTT folder contains all the source files and headers needed for the MQTT client.
Adding MQTT_Example Files
Along with the library, we also include the MQTT_Example.c and MQTT_Example.h files. These files contain helper functions and sample code to simplify your setup. Copy these files into the same Ethernet folder so everything related to networking stays together.
You can download the example files from the link provided at the end of this post.
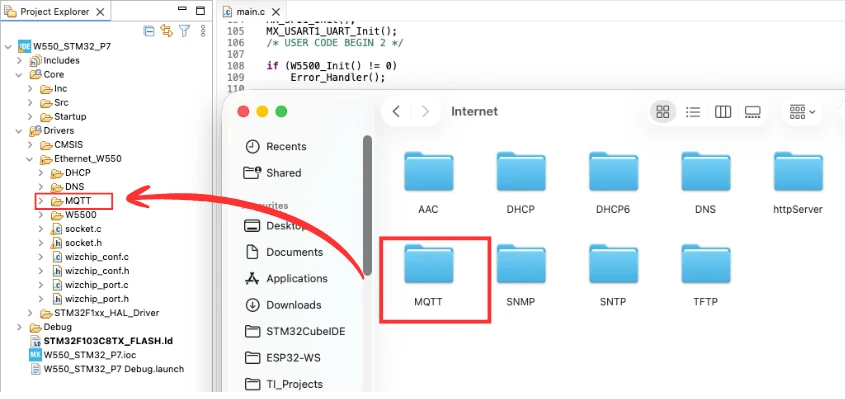
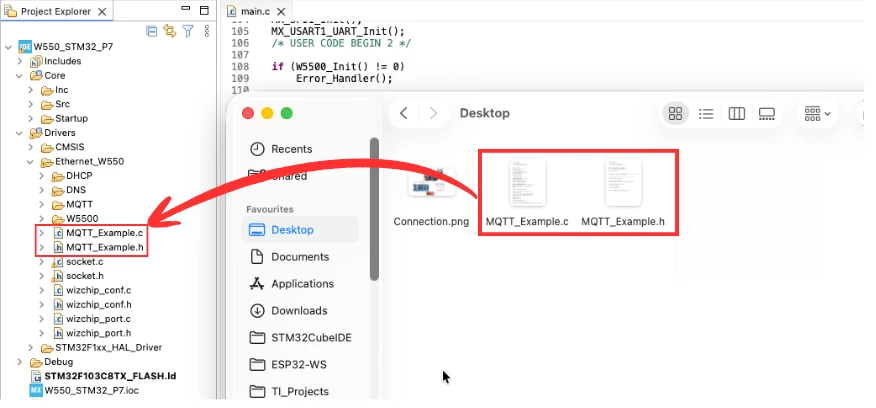
Folder Structure After Adding All Files
After copying the MQTT library and the example files, your STM32 project should contain the following folders under the Ethernet directory:
- W5500 driver files
- Socket and DNS files
- MQTT folder with all source and header files
- MQTT_Example.c and MQTT_Example.h
This organized structure makes the project easy to navigate and keeps all networking-related code in one place.
The image below shows the updated project structure in CubeIDE, where you can clearly see the new MQTT folder and the example files added to the Ethernet directory.

Understanding MQTT_Example.c
In this section, we will break down the MQTT_Example.c file in detail. This file contains all the major functions needed to create a working MQTT client on STM32. We will cover how the client connects to the network, subscribes to topics, publishes messages, and handles incoming packets. By understanding each part, you will be able to extend or customize the project for your own IoT applications.
Defining the MQTT Socket
At the top of the file, the socket used for MQTT communication is defined:
#define MQTT_SOCKET 0- The W5500 provides 8 hardware sockets (0–7).
- Sockets 6 and 7 are already used for DHCP and DNS.
- So we use socket 0 for the MQTT client.
Setting Broker Hostname or IP
The file allows choosing between a broker hostname and a fixed IP address.
#define USE_BROKER_HOSTNAMEIf this line is enabled, the STM32 will resolve the hostname using DNS.
If disabled, the code will use a fixed IP address defined in:
#define MQTT_BROKER_IP { 192, 168, 1, 7 }Using a hostname (like test.mosquitto.org) is easier for public brokers.
Defining Port and Client ID
Next, the basic MQTT settings are defined:
#define MQTT_BROKER_PORT 1883
#define MQTT_CLIENT_ID "W5500_Client"- Port 1883 is the default MQTT port (unencrypted).
- The Client ID identifies this device on the broker.
DNS Resolution and Opening TCP Socket
The first major function is mqtt_network_init().
This function performs two important tasks:
- Resolve DNS (if hostname is used)
- Open a TCP socket and connect to the MQTT broker
DNS Resolution
DNS_run(dns_server, (uint8_t*)MQTT_BROKER_HOST, broker_ip);If DNS is successful, the broker’s IP address is printed on UART.
Opening the TCP Connection
socket(MQTT_SOCKET, Sn_MR_TCP, 0, 0);
connect(MQTT_SOCKET, broker_ip, MQTT_BROKER_PORT);This creates a TCP connection between STM32 and the broker.
MQTT Connect Packet Setup
The next important function is mqtt_connect_broker().
This function prepares the MQTT client and sends the CONNECT packet:
- Initialize network structure
- Initialize MQTT client
- Prepare connection data
- Send CONNECT command
Key configuration:
data.MQTTVersion = 3;
data.keepAliveInterval = MQTT_KEEPALIVE;
data.cleansession = 1;
data.clientID.cstring = MQTT_CLIENT_ID;Subscribing to a Topic
The mqtt_subscribe() function is used to register a topic with the broker:
MQTTSubscribe(&client, topic, QOS0, messageArrived);- We subscribe using QoS0.
- The messageArrived callback handles incoming messages.
If successful, UART prints:
MQTT: Subscribed to [topic]This project subscribes to two topics:
controllerstech/subcontrollerstech/sub2
Handling Incoming Messages (Callback)
The messageArrived() function is called whenever the broker sends a message to any subscribed topic.
This function:
- Prints the topic name
- Prints the payload
- Checks if the topic is
controllerstech/sub - Runs LED control based on the message
Extracting the Payload
memcpy(mBuffer, md->message->payload, len);
mBuffer[len] = 0;Handling LED ON/OFF
if (strcmp(mBuffer, "ON")==0)  led_Control(1);
if (strcmp(mBuffer, "OFF")==0) led_Control(0);This allows any external MQTT client to control the LED on STM32.
Publishing a Message
To send data to a broker topic, the mqtt_publish() function is used:
msg.payload = (void*)payload;
MQTTPublish(&client, topic, &msg);All messages use QoS0 for simplicity.
This is used in the main loop to publish data every 5 seconds.
Handling Incoming MQTT Packets
The mqtt_yield() function processes incoming messages:
MQTTYield(&client, 0);This must be called:
- Inside a while loop, or
- Inside a separate FreeRTOS task
Without this, incoming messages would not be processed.
Main MQTT Loop (Example Function)
In MQTT_Example(), you see how all functions work together:
mqtt_network_init();
mqtt_connect_broker();
mqtt_subscribe("topic");Then inside the loop:
mqtt_yield();

if (HAL_GetTick() - tick5s >= 5000)
{
    mqtt_publish("topic", "message");
}This example shows the basic workflow:
initialize → connect → subscribe → yield → publish
Main Application Code Explained
Now that we understand how the MQTT functions work, let’s look at how everything comes together inside the main.c file. This is the part that actually runs on the STM32. The main code initializes the hardware, connects to the MQTT broker, subscribes to topics, and publishes data at regular intervals. It also reacts to incoming messages to control the onboard LED. The workflow is simple, clear, and easy to extend for other sensors or peripherals.
Initializing W5500 and MQTT
The first part of the main function sets up all peripherals, such as GPIO, SPI, and UART.
Once the hardware is ready, the following calls are made:
W5500_Init();
mqtt_network_init();
mqtt_connect_broker();These functions:
- Start the Ethernet interface
- Connect the STM32 to the MQTT broker
- Prepare the MQTT client for communication
If any step fails, the code enters the error handler. This ensures a clean startup with proper network and broker connectivity.
Subscribing to Multiple Topics
The next step is to subscribe to the topics that the STM32 should listen to:
mqtt_subscribe("controllerstech/sub");
mqtt_subscribe("controllerstech/sub2");Both topics share the same messageArrived() callback function.
Inside the callback, we check the topic name to decide what to do with the message.
This allows the STM32 to:
- Receive LED control commands from the first topic
- Receive and print messages from other topics without affecting the LED
It’s a simple but powerful way to handle multiple MQTT streams.
Using HAL_GetTick() for Timed Publish
Inside the while loop, the code publishes a message every 5 seconds:
if ((HAL_GetTick() - tick5s) >= 5000)
{
    tick5s = HAL_GetTick();
    sprintf(buffer, "STM32 W5500 -> %d", count++);
    mqtt_publish("controllerstech/pub", buffer);
}Here’s what happens:
- HAL_GetTick() gives the time in milliseconds
- We check if 5 seconds have passed
- If yes, we update the counter and publish a new message
- This creates a simple timestamp-based periodic task
This method is light, accurate, and works perfectly for timed MQTT messages.
LED Control Function Explained
The LED control is handled by a small helper function:
void led_Control(int state)
{
    HAL_GPIO_WritePin(GPIOC, GPIO_PIN_13, state);
}The messageArrived() callback calls this function when it receives “ON” or “OFF”:
"ON"→ LED turns ON"OFF"→ LED turns OFF
This is a clean way to map MQTT messages to hardware actions.
Testing the MQTT Client
With the code ready and the board flashed, it’s time to test the MQTT client in real conditions. For this, we will use the Mosquitto MQTT client tools on a PC. These tools let us subscribe to the same topics as the STM32 and also publish messages to the topics that the STM32 listens to. This makes it easy to verify that our MQTT connection, message flow, and LED control are all working as expected.
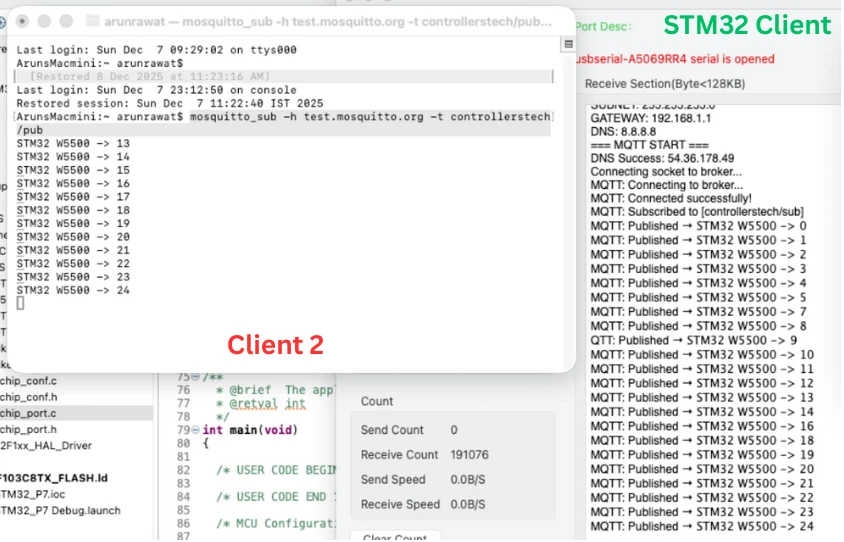
Testing Publish From STM32
The STM32 publishes a message every 5 seconds to the topic:
controllerstech/pubYou can test this by running the following command on your PC:
mosquitto_sub -h test.mosquitto.org -t controllerstech/pubYou should start seeing new messages appear every 5 seconds. Each message includes an incrementing counter value, proving that the STM32 is connected, active, and able to send data reliably.
Output: Terminal Logs
The gif below shows the Mosquitto client receiving published messages from STM32, updated every 5 seconds with the latest counter value.
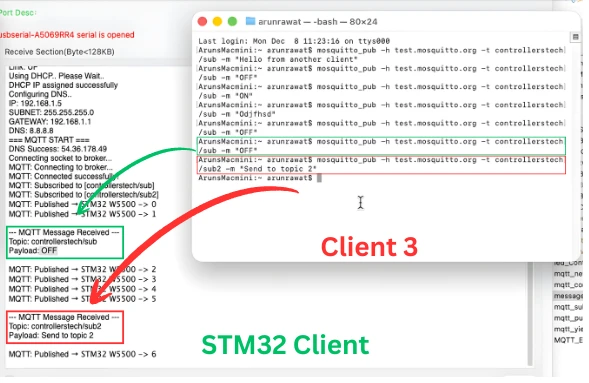
Testing Subscribe From STM32
The STM32 is subscribed to:
controllerstech/subcontrollerstech/sub2
To test this, open another terminal window on your PC and publish a message:
mosquitto_pub -h test.mosquitto.org -t controllerstech/sub -m "OFF"
mosquitto_pub -h test.mosquitto.org -t controllerstech/sub2 -m "Send to topic 2"The STM32 should instantly print the received message on the UART console.
Output: Terminal Logs
The image below shows the STM32 printing the topic name and message payload when new data arrives through MQTT.
Controlling LED Using ON/OFF Messages
Now let’s test real hardware control.
Publish ON/OFF messages to the topic:
mosquitto_pub -h test.mosquitto.org -t controllerstech/sub -m "ON"
mosquitto_pub -h test.mosquitto.org -t controllerstech/sub -m "OFF"Since the callback checks this specific topic, the STM32 will toggle the LED accordingly.
- ON → LED turns ON
- OFF → LED turns OFF
Output: LED Response
The image below shows the LED switching ON and OFF based on messages received from the MQTT broker.

STM32 W5500 MQTT Client Video Tutorial
This video is part 7 of the STM32 W5500 Ethernet series and focuses on creating a fully working MQTT client on the STM32. In this tutorial, you will learn how to connect the STM32 to an MQTT broker, publish messages, subscribe to multiple topics, and control an LED using simple MQTT commands. The video also explains how DNS resolution works, how the MQTT connect packet is created, and how the callback handles incoming messages in real time. Watch the full video below and follow this guide to build a reliable, wired MQTT client for your next STM32 IoT project.
Watch the STM32 MQTT Client TutorialConclusion
In this tutorial, we built a complete MQTT client on the STM32 using the W5500 Ethernet module. We covered everything from adding the MQTT library, understanding the main functions, and setting up the connection with the broker, to publishing messages, subscribing to multiple topics, and controlling hardware through MQTT commands. Each step was explained in simple words, making the workflow easy to follow even for beginners.
We also tested the client using the Mosquitto tools on a PC. The STM32 successfully published data every 5 seconds, received messages instantly, and reacted to ON and OFF commands by toggling an LED. This real-time communication shows how powerful and flexible MQTT can be when used with STM32 and the W5500, especially for wired IoT applications.
With this setup, you now have a strong base for building smart and connected projects. You can extend this logic to control more peripherals, send sensor data, or even build a full home automation system. The combination of STM32, W5500, and MQTT gives you a reliable, fast, and scalable solution for many embedded and IoT applications.
Browse More STM32 W5500 Tutorials
STM32 W5500 Ethernet Tutorial (Part 2): Create a TCP Server to Receive and Process Data
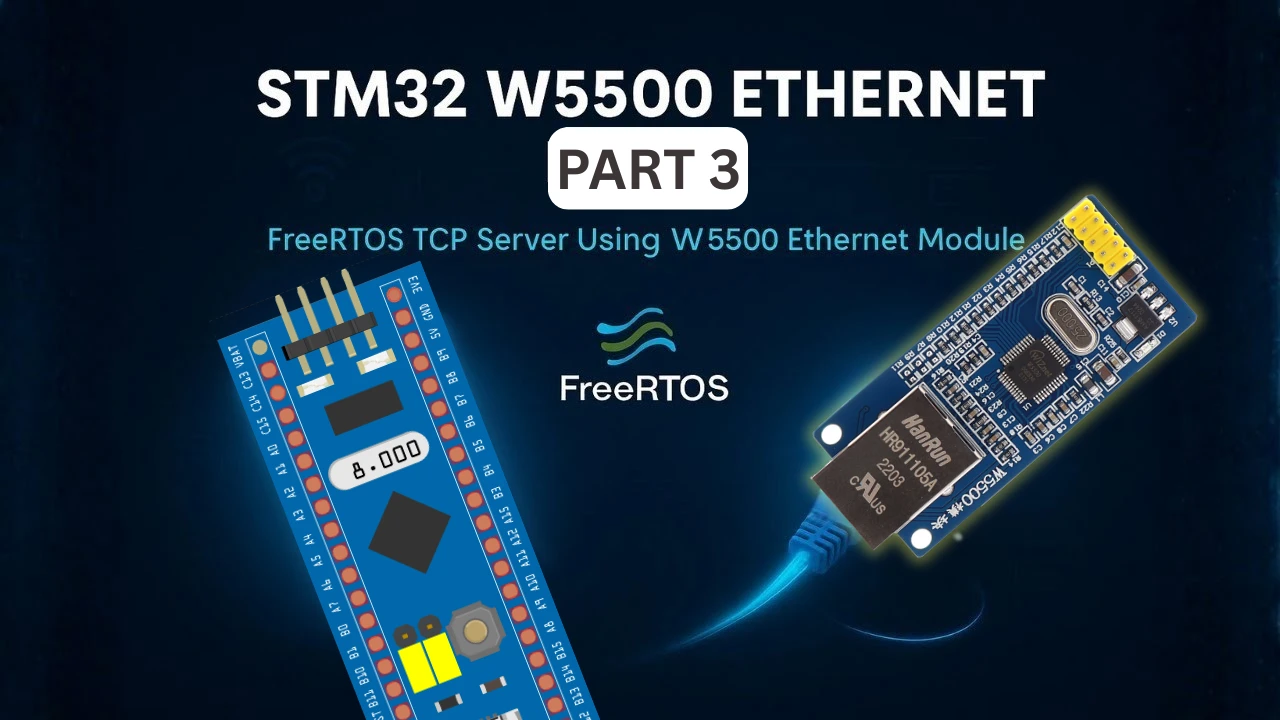
STM32 W5500 Ethernet Tutorial (PART 3): TCP Server with FreeRTOS
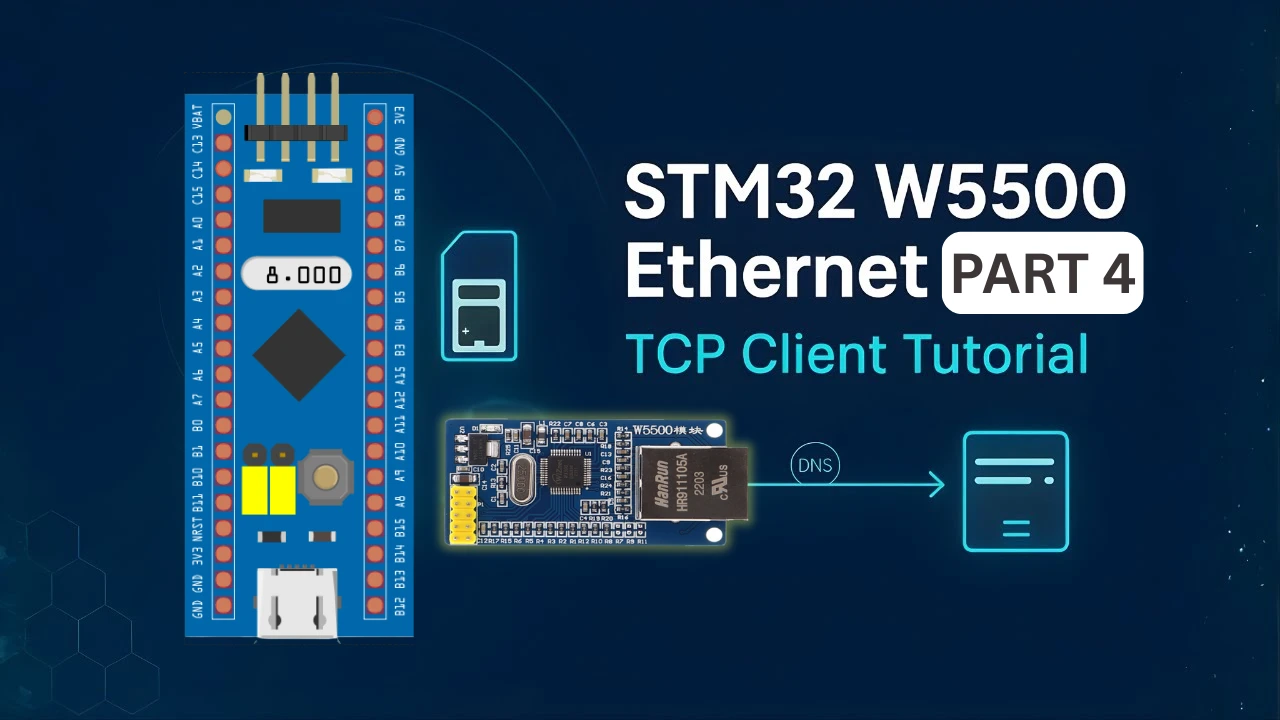
STM32 W5500 Ethernet Tutorial (Part 4): Connect STM32 to TCP Server Using DNS and Static IP
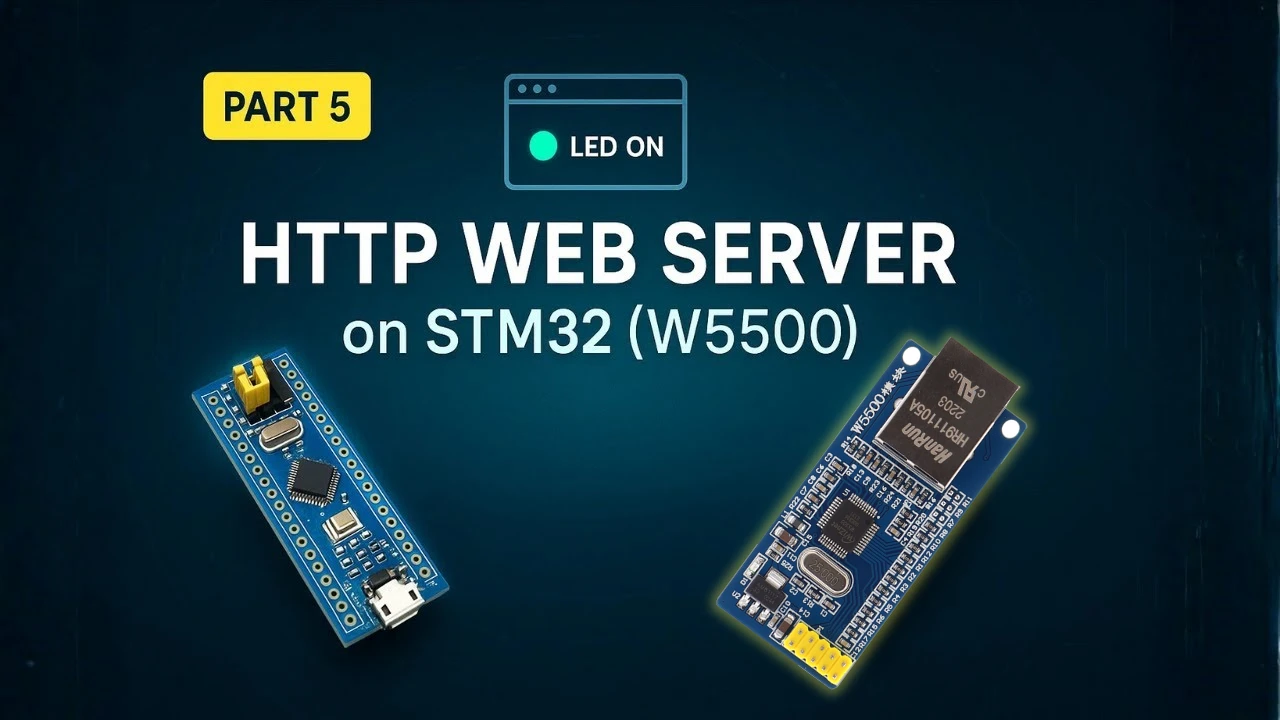
STM32 W5500 Ethernet Tutorial (Part 5): HTTP Webserver on STM32
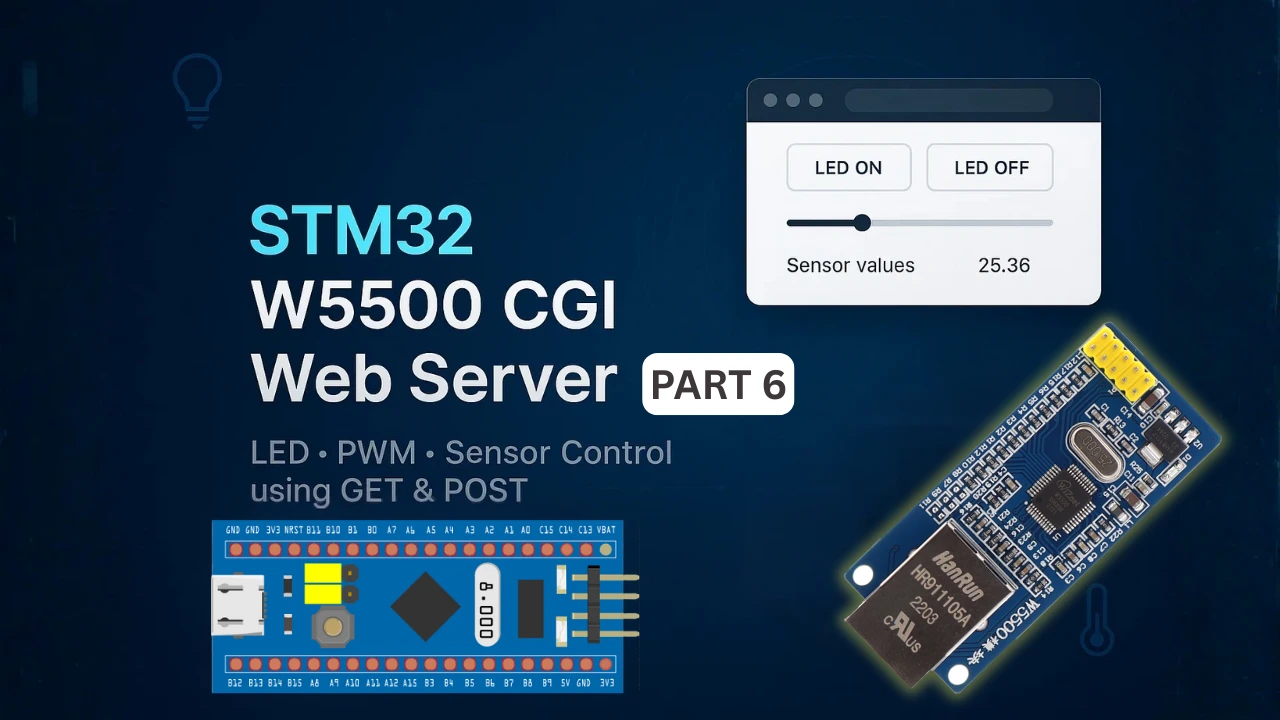
STM32 W5500 Ethernet Tutorial (Part 6): Dynamic HTTP Webserver using CGI
STM32 W5500 MQTT Project Download
STM32 W5500 MQTT FAQs

Subscribe
Login
0 Comments
Newest
